Easy Spiral Beanie: Free Crochet Pattern for All Sizes
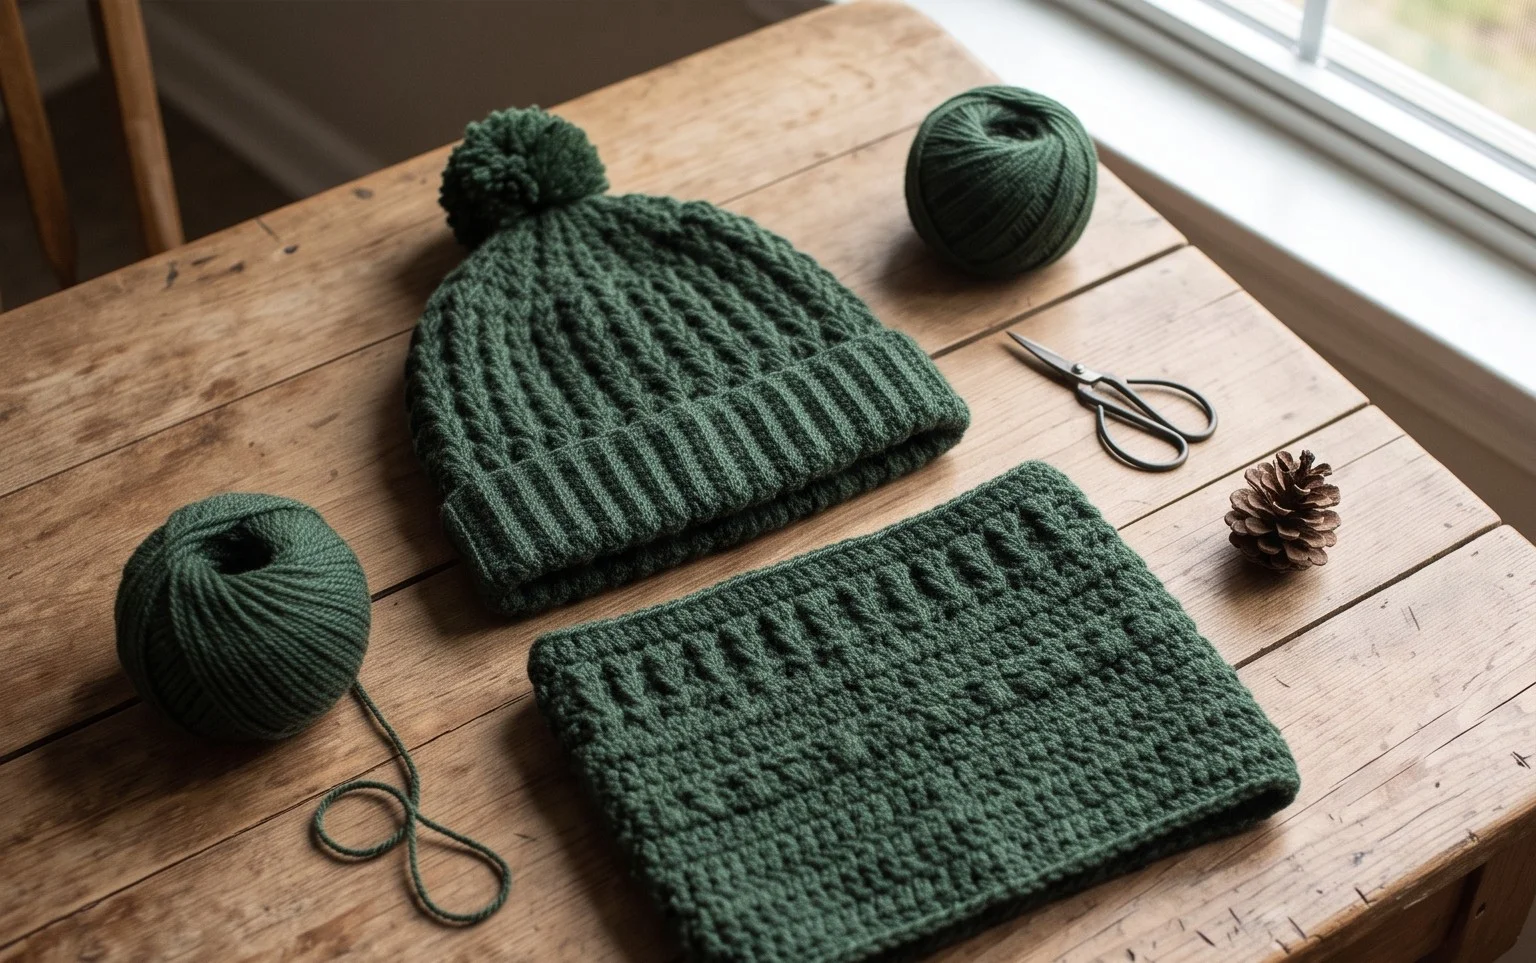
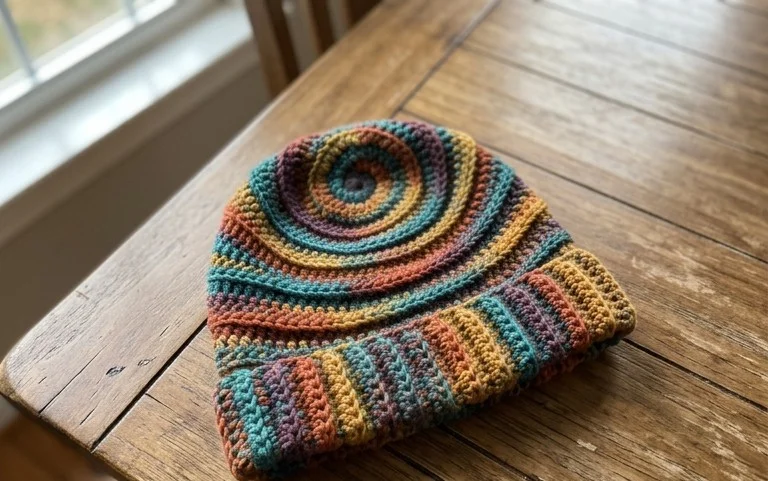
This soft, ribbed beanie features a distinctive spiral effect that gives the fabric a gentle, undulating texture. It rests snugly against the forehead while maintaining enough give to fit various head sizes, from energetic toddlers to busy adults. You will find that this construction method relies on simple back-loop half double crochet stitches, which create the signature ridges that define the shape. If you have a few spare hours and a skein of worsted yarn, you possess everything needed to create a warm, reliable winter accessory that stands up to daily wear and repeated washing cycles.
Why You’ll Love This Pattern
This classic crochet beanie works up quickly using a simple ribbed construction that creates a fitted, professional look. The combination of post stitches provides natural elasticity, ensuring the hat hugs the head comfortably without losing its shape over time. Because it relies on basic stitch repeats, it serves as a meditative project you can easily complete in a single weekend. It also works beautifully with a wide variety of wool or acrylic blends, allowing you to choose the exact level of warmth you need for cooler weather.
I finished this hat in two evenings while watching movies. The instructions were very easy to follow and the finished item fits perfectly.
— Sarah, hobbyist crocheter
Pattern Overview & Skill Level
- Skill Level: Beginner
- Approximate Time: 3 to 5 hours
- Construction: Worked flat in one rectangular panel then seamed into a tube with the crown cinched closed.
- Finished Dimensions: 18 inches circumference (stretches to 22 inches) by 9 inches tall.
Materials & Supplies Needed
- Yarn: Worsted weight (#4), approximately 200 yards. Wool blends offer the best elasticity for ribbing.
- Hook Size: 5.0 mm (US H-8).
- Notions: Tapestry needle for seaming, scissors, and a stitch marker.
- Safe Yarn Substitutions: Acrylic worsted works well for durability, while alpaca blends provide extra softness. Avoid cotton, as it lacks the necessary stretch to keep the hat securely on your head.
Stitch Guide & Abbreviations (US Terms)
- ch: chain
- st/sts: stitch/stitches
- sl st: slip stitch
- sc: single crochet
- BLO: back loop only. Insert hook under only the back loop of the stitch instead of both loops to create ridges.
- FPhdc: Front post half double crochet. Yarn over, insert hook from front to back to front around the post of the stitch below, yarn over and pull up a loop, yarn over and pull through all 3 loops on hook.
Step-by-Step Pattern Instructions
Main Body Panel
The hat is worked back and forth in rows to create a long rectangle. The height of your starting chain determines the length of the hat. To make it longer or shorter, adjust the chain length accordingly.
- Row 1: Ch 40. Sc in second ch from hook and each ch across. Turn. (39 sts)
- Row 2: Ch 1. Working in BLO, sc in each st across. Turn. (39 sts)
- Rows 3-60: Repeat Row 2 until the piece measures approximately 18 inches unstretched. Ensure you end on an even row.
Assembly and Finishing
Once your rectangle reaches the desired width, you are ready to create the tube shape.
- Seaming: Fold the rectangle in half, matching the short ends together. Using a tapestry needle and a length of yarn, whip stitch the two edges together to form a tube.
- Closing the Crown: Cut a 12-inch tail of yarn. Thread the needle and weave the yarn through the stitches along the top edge of the tube. Pull the yarn tail tight to gather the top closed. Secure with a knot and weave in your ends on the inside of the hat.
- Cuff: If you prefer a folded brim, you can turn up the bottom edge of the hat.
Care & Washing Instructions
- Hand wash in cool water using a gentle wool detergent.
- Lay flat on a clean towel to air dry away from direct sunlight.
- Reshape the hat while damp if it loses its round form during washing.
Pro Tips & Common Mistakes to Avoid
- Maintain consistent tension, especially during the BLO rows, to ensure the ribbing looks uniform.
- Use a stitch marker at the end of each row to help you identify the final stitch, which often looks smaller than the others.
- When weaving in ends, follow the path of the stitches to keep the seam invisible on the right side.
- Adjusting the number of rows allows you to change the circumference of the hat; add 4 rows for every extra inch of head size you need to accommodate.
Frequently Asked Questions
Can I use a larger hook size?
Using a larger hook will make the fabric feel more loose and drapey, but it may compromise the structure and warmth of the hat. Stick to the recommended 5.0 mm hook for the best results.
Is this pattern suitable for complete beginners?
Yes, this project uses basic stitches and a straightforward construction method, making it an excellent choice for those learning how to control tension and work in rows.
Can I sell the hats I make from this pattern?
You may sell finished items made from this design, provided you credit the design. Please do not distribute or sell the written pattern itself.
Why is my hat too tight?
If the hat is too tight, it is usually because the foundation chain was worked too tightly or the tension during the BLO rows was too high. Try working your foundation chain with a hook one size larger than your working hook, then switch back for the remainder of the pattern.
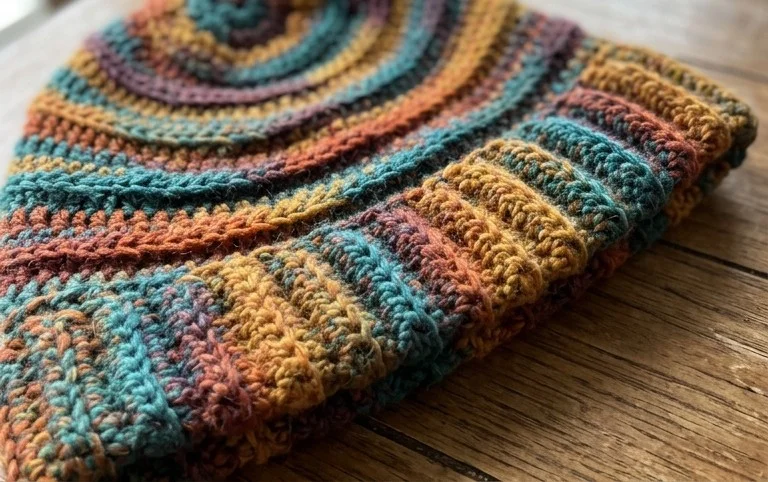
Finishing your first hat provides a great sense of accomplishment when you pull the crown tight and see the spiral pattern take shape. For your next attempt, try using a variegated yarn to highlight the swirling stitch lines or add a faux fur pompom to the top for a classic winter style. Please post a photo of your finished work online so others can see how your color choices turned out. Browse the rest of my site for more winter garment ideas and simple accessories.