Free Crochet Coaster Pattern: Beginner 30-Minute Project
These thick cotton coasters feel firm and stable under a mug, providing a reliable surface that catches every drop of condensation before it reaches your wood furniture. Beginners often struggle with visible seams in circular items, but this design uses a continuous spiral technique to keep the surface smooth and entirely clean. You will spend less than half an hour making each piece, making it a productive way to use up those small yarn balls leftover from bigger blankets. Learning the magic ring allows you to start your rounds without any awkward gaps, creating a professional result you can build on later.
Why You’ll Love This Pattern
This beginner-friendly crochet coaster pattern provides a practical way to protect your furniture while practicing fundamental stitch techniques. The design relies on a continuous spiral, which removes the need for visible seams or joining rows that can interrupt a clean aesthetic. You can finish a single coaster in under thirty minutes, making this an ideal project for using up small amounts of leftover cotton yarn. Because the pattern uses a tight single crochet construction, the finished item is dense enough to absorb condensation from cold glasses without losing its shape over time.
I managed to complete a full set of four coasters in one afternoon. The instructions were very easy to follow and the final result looks professional.
— Sarah, hobbyist crocheter
Pattern Overview & Skill Level
- Skill Level: Beginner
- Approximate Time: 20-30 minutes per coaster
- Construction: Working in continuous rounds starting with a magic ring
- Finished Dimensions & Sizing: Approximately 4 inches in diameter
Materials & Supplies Needed
- Yarn: Worsted weight (#4) 100% cotton yarn, approximately 15-20 yards per coaster. Cotton is necessary for heat resistance and moisture absorption.
- Hook Size: 5.0 mm (H-8) crochet hook.
- Notions: Tapestry needle for weaving in ends, a stitch marker to track the start of rounds, and scissors.
- Safe yarn substitutions: Acrylic yarn may be substituted for decorative purposes, though it does not absorb moisture as effectively as cotton and may melt if used with hot mugs. Using a lighter weight yarn will result in a smaller coaster unless you add additional increase rounds.
Stitch Guide & Abbreviations (US Terms)
- MR: Magic ring
- ch: Chain
- sc: Single crochet
- inc: Increase (work 2 sc in the same stitch)
- sl st: Slip stitch
- st(s): Stitch(es)
Step-by-Step Pattern Instructions
Coaster Body
- Rnd 1: Start 6 sc into a MR. Pull the ring tight. (6 sts)
- Rnd 2: Work 2 sc in each st around. (12 sts)
- Rnd 3: 1 sc, inc repeat from * to * 6 times. (18 sts)
- Rnd 4: 2 sc, inc repeat from * to * 6 times. (24 sts)
- Rnd 5: 3 sc, inc repeat from * to * 6 times. (30 sts)
- Rnd 6: 4 sc, inc repeat from * to * 6 times. (36 sts)
- Rnd 7: 5 sc, inc repeat from * to * 6 times. (42 sts)
Finishing
After completing Round 7, work one final slip stitch into the next stitch to smooth out the edge. Fasten off the yarn, leaving a 6-inch tail. Use your tapestry needle to weave the yarn tail securely into the back of the work. If your coaster curls slightly, gently steam block it or lay it flat under a heavy book for an hour to ensure it lies perfectly level on your table.
Care & Washing Instructions
- Machine wash your cotton coasters on a gentle cycle in cool water.
- Avoid high-heat drying; lay the coasters flat on a towel to air dry to prevent shrinkage.
- Reshape the coasters while damp if they appear slightly distorted from the wash.
Pro Tips & Common Mistakes to Avoid
Maintain consistent tension throughout the rounds; if your stitches are too loose, the coaster will look holey, but if they are too tight, the fabric will stiffen and curl. Always use a stitch marker at the first stitch of every round, as working in a continuous spiral makes it easy to lose your place. When weaving in your ends, run the needle through the center of the stitches on the back side rather than around the edges to keep the seam invisible. If you choose to make the coaster larger, remember that adding more rounds will consume significantly more yarn and you must increase by 6 stitches every round to keep the circle flat.
Frequently Asked Questions
Can I use a different yarn weight for this pattern?
Yes, you can use a different weight, but note that the finished size will change. A lighter weight yarn will yield a smaller coaster, while a heavier yarn will result in a larger one. You may need to add or remove rounds to achieve your desired diameter.
Is this pattern suitable for someone who has never crocheted before?
Absolutely. This project uses only the single crochet stitch and increases, which are the most fundamental skills for any crocheter. The small scale allows you to practice these techniques without a long time commitment.
How do I prevent the coaster from curling up at the edges?
Curling usually happens if the stitches are worked too tightly or if the increase count is incorrect. Ensure you are placing exactly 6 increases in every round. If it still curls, blocking with a bit of steam or water will help flatten the fabric.
May I sell the coasters I make using this pattern?
You are welcome to sell items made from this pattern as long as you credit the design. Please note that mass production is not permitted, and you should use your own photographs rather than copying images from this tutorial.
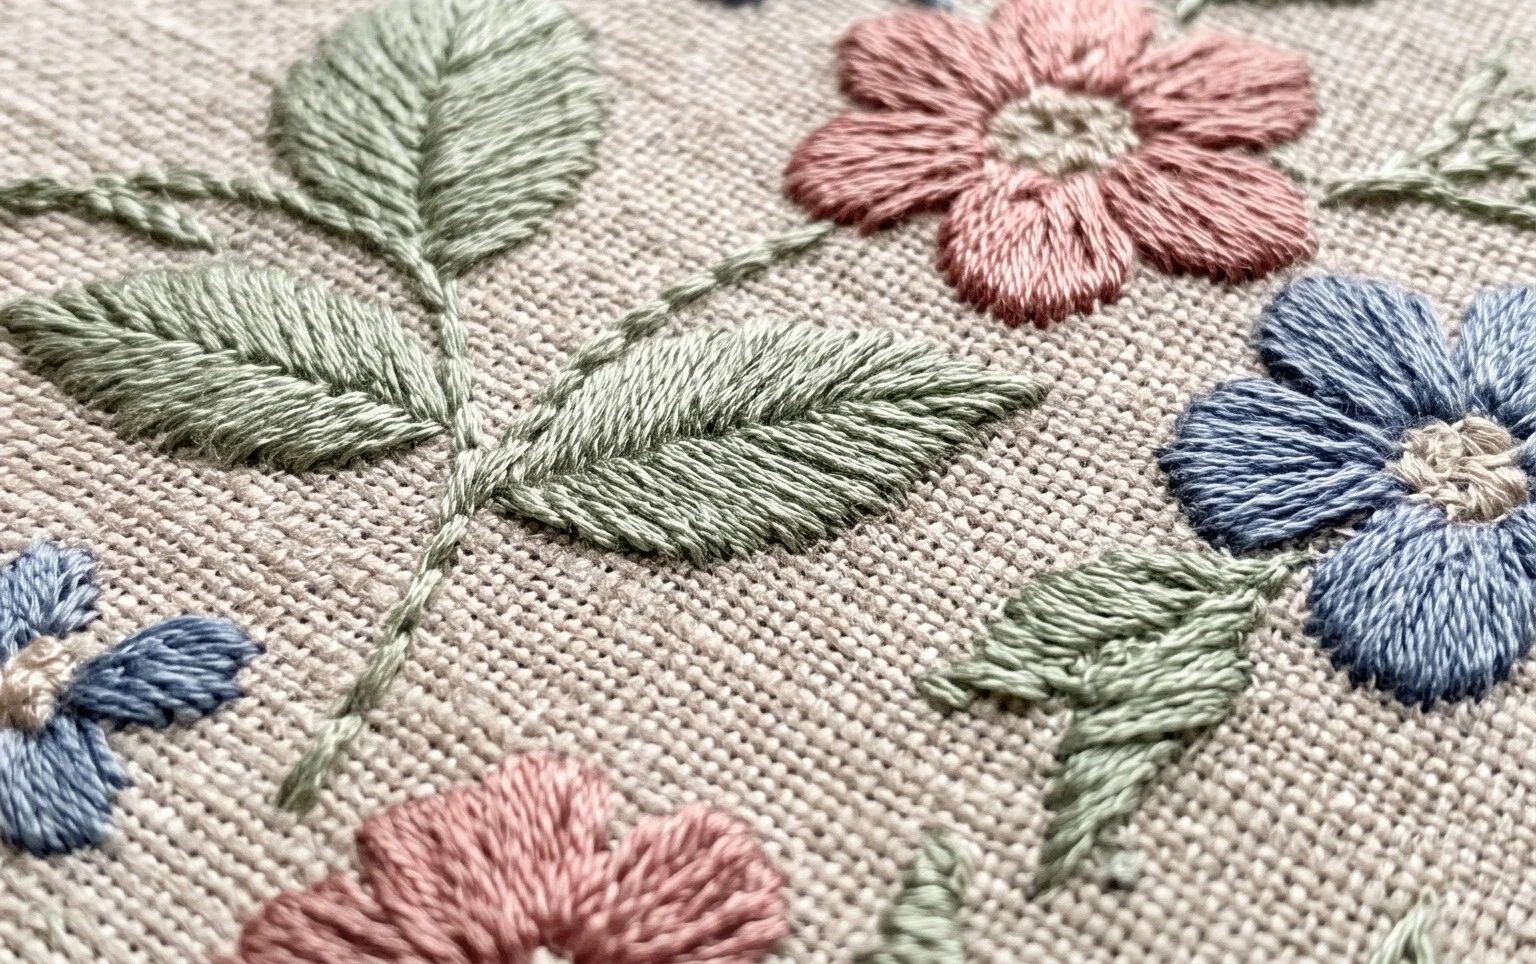
Your finished set of coasters adds a handmade touch to your living room while protecting your coffee table from moisture marks. You can experiment with two-tone stripes by switching your yarn color halfway through the final round or by adding a simple picot stitch border for a decorative flair. Post a photo of your work on your social media accounts to show how the colors coordinate with your home. Visit our blog archives to browse through more free patterns and find inspiration for your next afternoon project.