Easy Sturdy Crochet Basket Free Pattern for Beginners
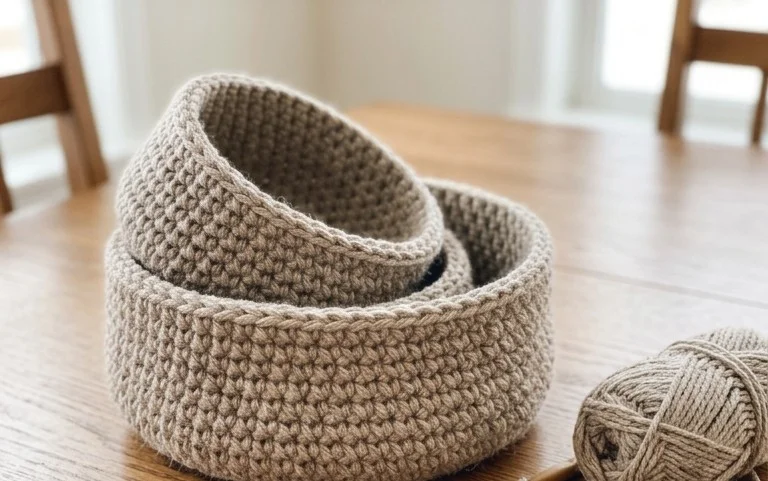
Stiff sides and a flat base make these simple handmade containers hold their shape even when filled with heavy items like yarn balls or desk supplies. Beginners find this project approachable because it relies on standard single crochet stitches worked in a continuous spiral, which removes the need for visible seams or complicated join-as-you-go methods. Creating your own storage solutions gives you full control over size and color to match your living space. You will gain confidence in managing stitch counts while creating a functional item that clears clutter from your shelves or side tables. This design works up quickly, allowing you to organize your home with custom accessories in just a few hours of quiet work.
Why You’ll Love This Pattern
This beginner-friendly crochet coaster pattern uses simple single crochet stitches and a flat circular construction, making it an ideal project for practicing tension and working in the round. Because these coasters work up in under thirty minutes, they are perfect for using up small amounts of leftover cotton yarn from larger projects. The resulting texture is dense and absorbent, protecting your wooden surfaces from condensation while adding a handmade touch to your coffee table. Since they require no complex sewing or shaping, you can easily crochet an entire set in a single evening.
I finally used up my scraps to make these for my kitchen. They work up so fast and lay completely flat without curling, which I have struggled with on other patterns.
— Sarah, home crafter
Pattern Overview & Skill Level
- Skill Level: Beginner
- Approximate Time: 20–30 minutes per coaster
- Construction: Working in the round with a magic ring and continuous increases
- Finished Dimensions & Sizing: Approximately 4 inches in diameter
Materials & Supplies Needed
- Yarn: Worsted weight (#4) 100% cotton yarn. Approximately 15 yards per coaster. Cotton is necessary for heat resistance and absorbency.
- Hook Size: 5.0 mm (H-8) crochet hook.
- Notions: Tapestry needle for weaving ends and a stitch marker to track the beginning of each round.
- Safe yarn substitutions: You may use a blend of cotton and acrylic, but pure acrylic will not absorb moisture and may melt if exposed to very hot mugs. Using a lighter weight yarn will result in a smaller coaster, while a heavier yarn will require a larger hook and additional rounds.
Stitch Guide & Abbreviations (US Terms)
- MR: Magic Ring. A method of starting rounds by working stitches into an adjustable loop.
- ch: Chain stitch.
- sc: Single crochet. Insert hook into stitch, yarn over, pull up a loop, yarn over, pull through two loops.
- inc: Increase. Work 2 sc into the same stitch.
- sl st: Slip stitch. Insert hook, yarn over, pull through stitch and loop on hook.
- st/sts: Stitch/stitches.
Step-by-Step Pattern Instructions
Coaster Body
- Rnd 1: Start with a MR. Work 6 sc into the ring. Pull the tail tight to close the center. Place a stitch marker in the first stitch. (6 sts)
- Rnd 2: Work 2 sc in each st around. (12 sts)
- Rnd 3: *1 sc in next st, inc in next st; repeat from * around. (18 sts)
- Rnd 4: *1 sc in each of the next 2 sts, inc in next st; repeat from * around. (24 sts)
- Rnd 5: *1 sc in each of the next 3 sts, inc in next st; repeat from * around. (30 sts)
- Rnd 6: *1 sc in each of the next 4 sts, inc in next st; repeat from * around. (36 sts)
- Finishing: Join with a sl st to the first stitch of the final round. Fasten off, leaving a 4-inch tail. Pull the tail through the final loop and use the tapestry needle to weave the end securely into the back of the coaster.
Care & Washing Instructions
- Machine wash your cotton coasters on a gentle cycle in cool water to prevent shrinking or color bleeding.
- Reshape the coasters by hand while they are still damp and lay them flat on a towel to air dry.
- Avoid using fabric softener, as it reduces the absorbency of the cotton fibers and leaves a residue on glass surfaces.
Pro Tips & Common Mistakes to Avoid
Maintain consistent tension by holding your yarn with a steady grip, as loose stitches in a coaster can allow liquid to seep through to your furniture. Always use a stitch marker at the first stitch of every round; because you are working in continuous rounds without joining, it is easy to lose count of where your circle ends. Weave your ends in multiple directions—up, down, and across the back—to ensure they do not pop out after frequent washing. If you choose to size the coaster up by adding more rounds, remember that you must add an extra 6 stitches per round to keep the circle lying flat.
Frequently Asked Questions
Can I use acrylic yarn for these coasters?
While you can use acrylic, it is not recommended for items that hold hot mugs. Cotton is naturally heat-resistant and absorbent, whereas synthetic fibers can melt or warp when exposed to high heat and will not soak up moisture from cold drinks.
Why is my coaster curling up into a bowl shape?
If your coaster is cupping, your tension is likely too tight. Try going up one hook size or consciously loosening your yarn tension. If it ruffles, your tension is too loose, or you are adding too many increases.
How can I make these coasters larger?
Continue the pattern of increasing by 6 stitches each round. For example, Rnd 7 would be *1 sc in each of the next 5 sts, inc in next st; repeat from * around. This will keep the circle flat.
Can I sell the coasters I make from this pattern?
You are welcome to sell finished items made from this pattern, provided you credit the original designer in your listing. Please use your own photographs rather than using the images provided in this tutorial.
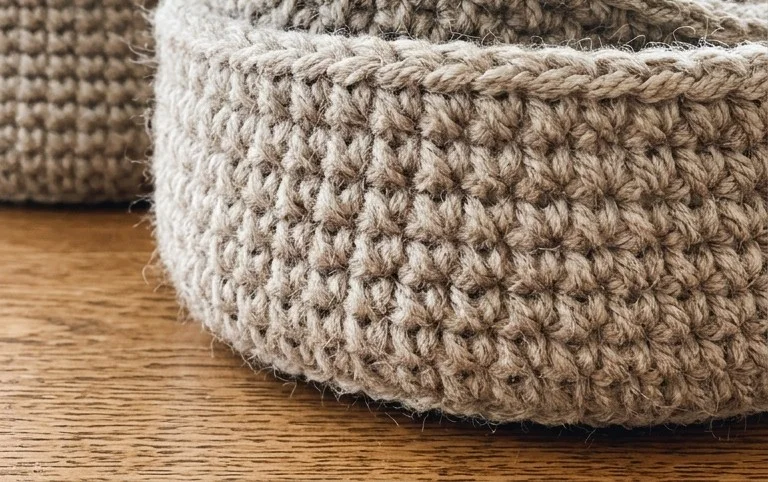
These sturdy organizers look professional sitting on a bookshelf and keep your loose ends tucked away neatly. You can scale this design by adding more increase rounds to create a larger base or using two strands of yarn held together for extra height and rigidity. Posting a photo of your finished work helps other makers see how these look in different color palettes. Feel free to browse through the rest of our pattern library for more functional home projects to add to your collection.