Rustic Pines Beanie and Cowl: Free Beginner Crochet Guide
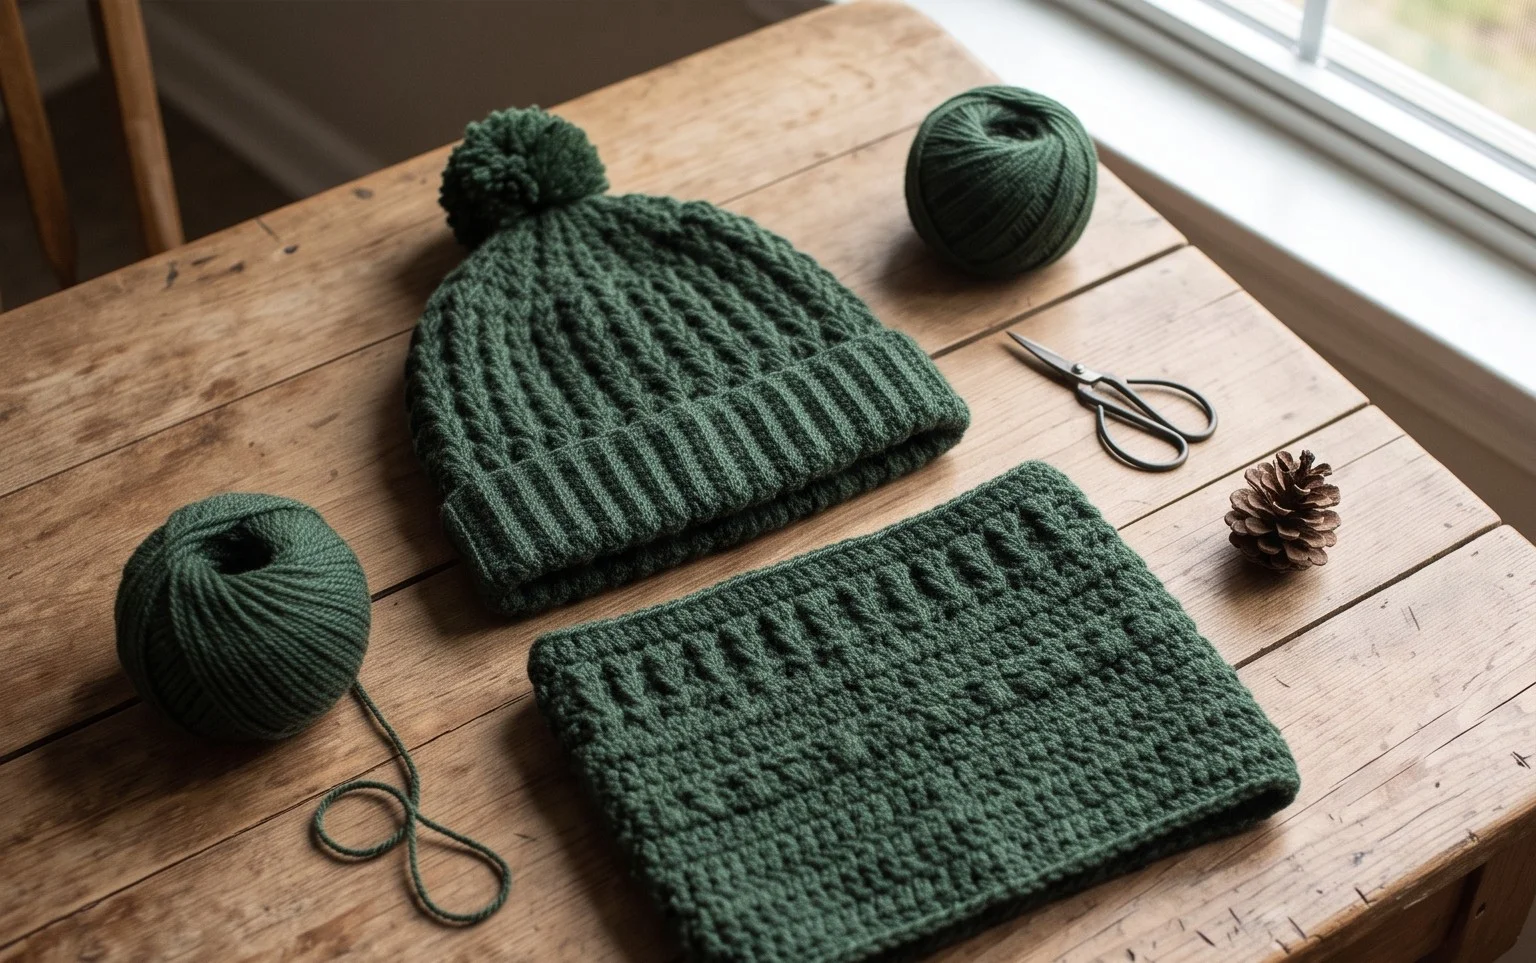
This hat carries the weight and warmth of dense, squishy yarn, creating a fabric that feels substantial against the skin during a biting morning frost. The ribbed finish mimics high-end boutique accessories while remaining simple enough for anyone who has just picked up a hook. You will find that working this piece relies entirely on the back loop single crochet stitch, a repetitive motion that builds a clean, architectural texture. This design makes a thoughtful gift for friends or a quick addition to your winter wardrobe. By the end of this guide, you will understand how to construct a flat panel and shape it into a cozy silhouette that fits snugly without pinching.
Why You’ll Love This Pattern
This crochet ribbed beanie offers a classic, fitted silhouette that works equally well for casual daily wear or outdoor activities. The ribbed texture provides significant natural stretch, ensuring the hat stays snug against the head without slipping during movement. Because the pattern relies on working in the back loops only, it is a fantastic exercise for beginners looking to master tension control and clean edge work. Each hat comes together in roughly three hours, making it a reliable choice for last-minute handmade gifts or stocking up for craft fairs. The simple construction means you can easily adjust the height of the brim by adding or subtracting rows, allowing for either a beanie style or a folded-cuff look.
I finished this pattern over a single weekend using leftover wool from my stash. The ribbed texture is much more professional looking than the basic dc patterns I usually make for my grandkids.
— Sarah, hobbyist crafter
Pattern Overview & Skill Level
- Skill Level: Beginner
- Approximate Time: 3 hours
- Construction: Worked flat in a rectangular panel and seamed at the back, then gathered at the top for shaping.
- Finished Dimensions: 18 inches circumference (unstretched) by 9 inches tall, fits most adults.
Materials & Supplies Needed
- Yarn: Worsted weight (#4), wool or acrylic blend, approximately 200 yards.
- Hook Size: 5.0 mm (H-8).
- Notions: Tapestry needle for seaming, scissors, and a measuring tape.
- Yarn Substitutions: You can use a cotton blend for a lighter, breathable hat, though it will have less natural stretch. Using a bulky yarn will require you to reduce the total number of foundation chains to maintain the same fit.
Stitch Guide & Abbreviations (US Terms)
- ch: Chain
- st/sts: Stitch/stitches
- sl st: Slip stitch
- sc: Single crochet
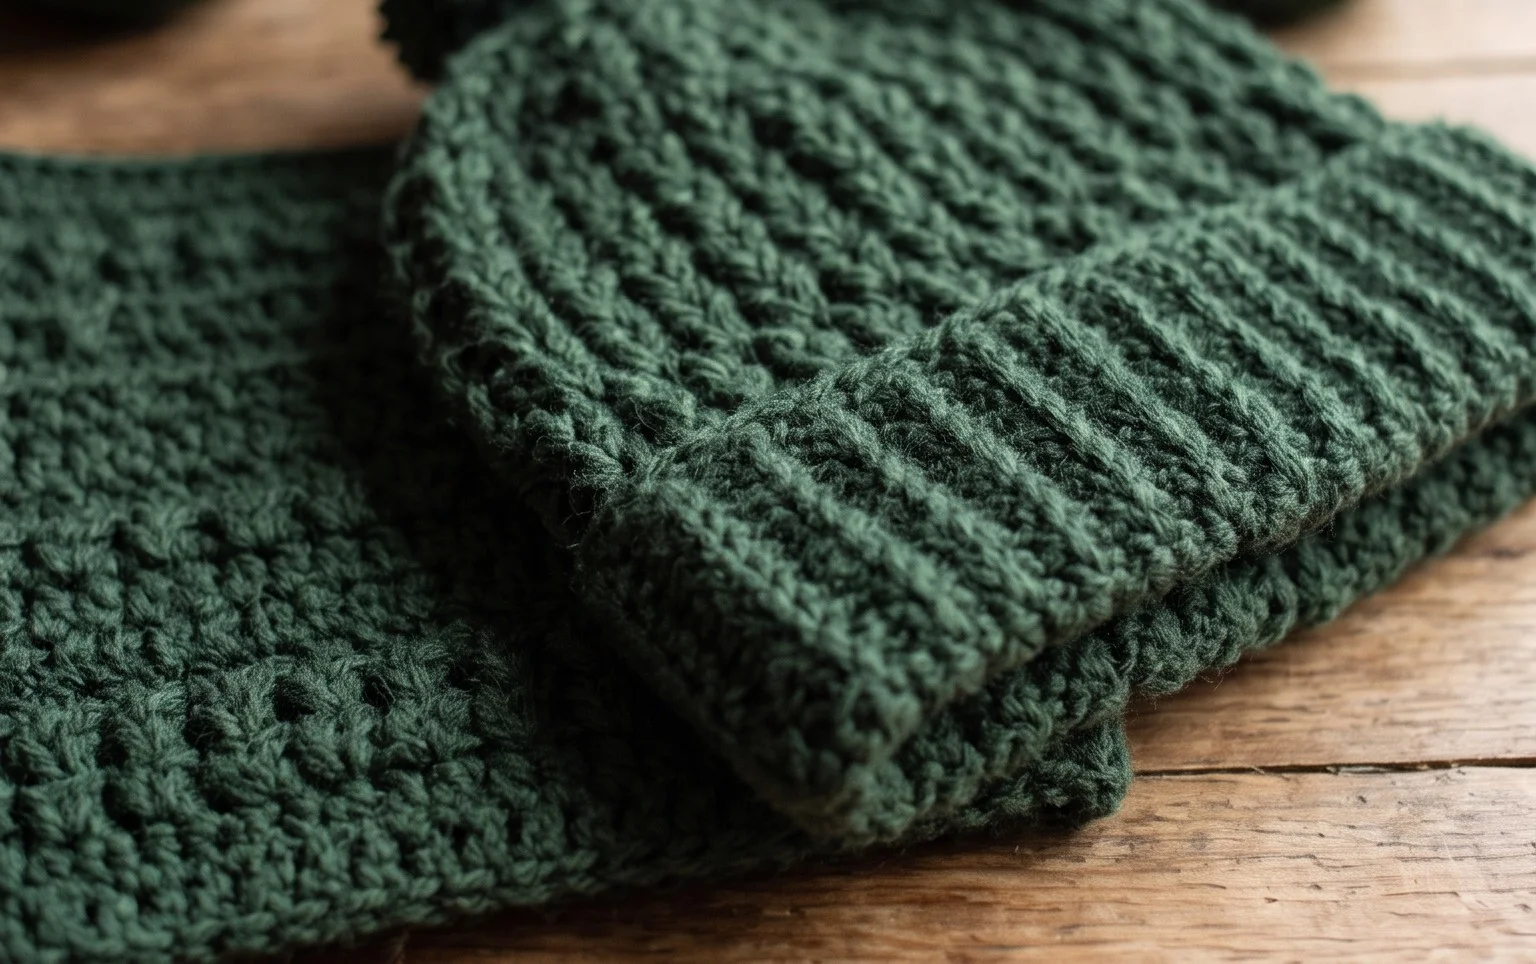
- BLO: Back loop only (insert hook under the back loop of the V-stitch only)
Step-by-Step Pattern Instructions
Main Hat Panel
- Row 1: Ch 36. Sc in the second ch from the hook and each ch across. Ch 1, turn. (35 sts)
- Row 2: Sc in BLO of each st across. Ch 1, turn. (35 sts)
- Rows 3–60: Repeat Row 2 until the piece measures approximately 18 inches unstretched. Ensure you do not pull the fabric tight while measuring. (35 sts)
Assembly and Finishing
Once you reach the desired length, fasten off your yarn, leaving a long 15-inch tail for sewing. Fold the rectangular panel in half so that the short ends meet. Using your tapestry needle, sew the two short ends together using a mattress stitch to create a tube. Secure the yarn and weave in the end.
To close the top, thread your tapestry needle with a new piece of yarn. Run the needle in and out along the top edge of the tube, weaving through every other row end. Pull the yarn tail tight to gather the top of the hat into a closed circle. Secure the center with a knot and weave in the remaining ends on the inside of the hat.
Care & Washing Instructions
- Hand wash in cool water with a mild wool-safe detergent to maintain the elasticity of the stitches.
- Lay the hat flat on a dry towel to air dry, keeping it away from direct sunlight or heaters to prevent fiber damage.
- If the hat loses its shape after heavy use, lightly steam it with an iron held several inches away, then reshape it with your hands while damp.
Pro Tips & Common Mistakes to Avoid
Consistent tension is the secret to a professional-looking ribbed hat. If your slip stitches are too tight, the fabric will be stiff and uncomfortable; if they are too loose, the ribbing will appear wavy. When counting stitches at the end of every row, ensure you do not accidentally skip the last stitch, as this causes the edges to slant rather than remain straight. Weaving in your ends by traveling through the vertical ribs of the hat keeps the seam hidden and prevents the ends from popping out during wear. If you decide to adjust the size, add or subtract chains in increments of two to ensure the ribbing pattern remains balanced.
Frequently Asked Questions
Can I use a larger hook for this pattern?
Using a larger hook will make the hat slouchier and less fitted. If you choose to size up, consider adding more rows to the width to ensure it still fits snugly around the head.
Is this pattern suitable for complete beginners?
Yes, this is an ideal first garment project. It uses only single crochet stitches and the back loop technique, which are foundational skills for any crocheter.
How do I adjust the hat to be smaller for a child?
Simply start with a shorter foundation chain to reduce the height. Reduce the total number of rows worked to fit the child’s head circumference.
Am I allowed to sell hats made from this pattern?
You are welcome to sell items you create using this design. Please credit the pattern origin if listing them for sale in an online shop or local market.
You now have a finished set that provides both warmth and a clean, modern aesthetic for the cold season ahead. If you want to experiment, try holding two strands of lace weight mohair together instead of worsted wool for a softer, fuzzier halo effect on the final cowl. Posting a photo of your finished work online helps other makers find inspiration for their own yarn stash projects. Please explore the rest of my blog for more free patterns to fill your weekend afternoons with productive and relaxing craft sessions.