10 Easy Christmas Tree Ornaments: Free Crochet Patterns
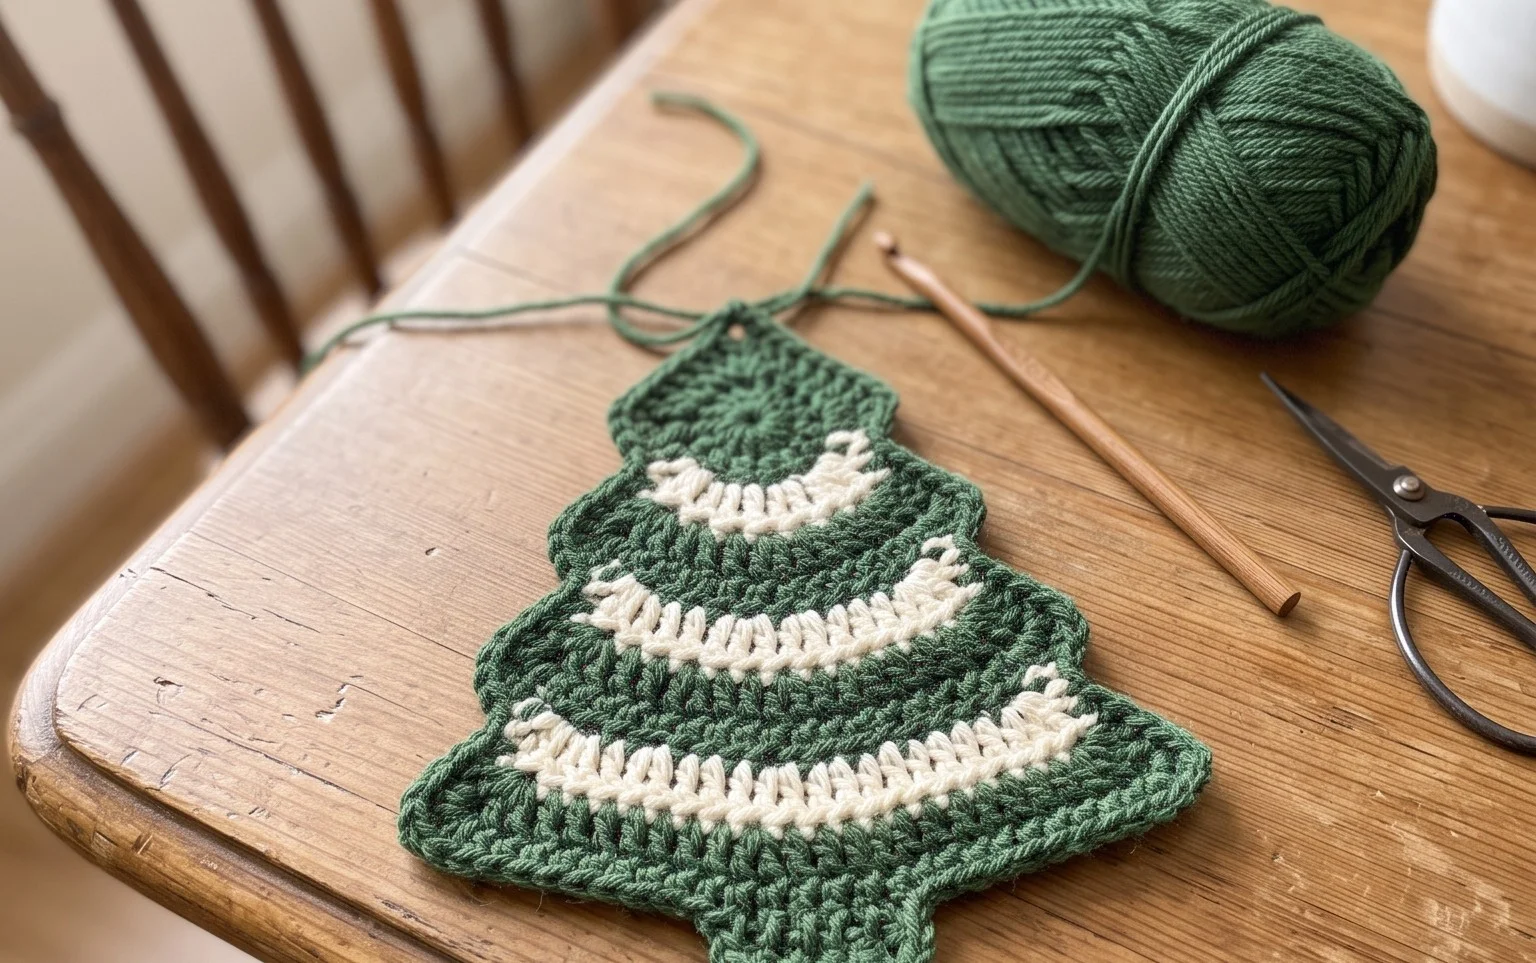
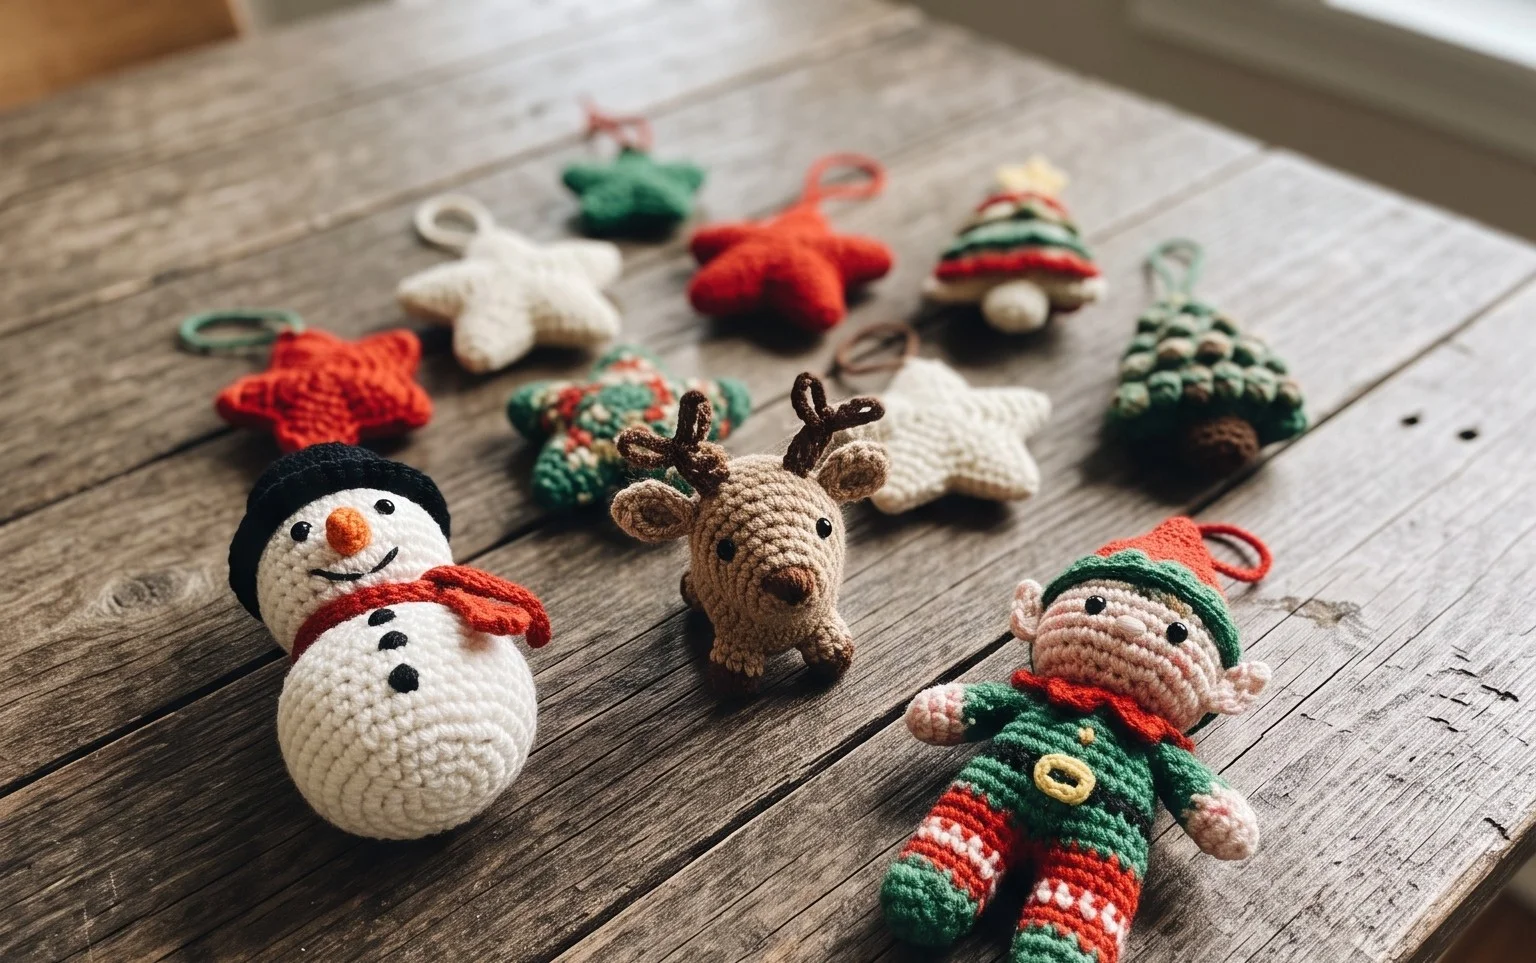
Small loops of cotton yarn transform into classic seasonal decorations that add a handmade touch to your holiday display. These ornaments feel light and firm to the touch, making them durable enough to pack away and reuse every single winter. They suit beginners who want to practice tension or experienced crafters looking for a quick evening project between larger tasks. By mastering a simple chain loop and basic increases, you create geometric stars and circles that hang beautifully from pine branches. These pieces bring warmth to any room, offering a quiet, repetitive rhythm that grounds you during a busy month.
Why You’ll Love This Pattern
This beginner-friendly crochet coaster pattern uses a simple moss stitch variation that creates a dense, absorbent fabric, making it ideal for protecting your furniture from moisture. Because the design requires very little yarn, it is a perfect way to use up those leftover balls of cotton from larger projects. The geometric structure works up in less than thirty minutes, offering an instant sense of accomplishment for new crafters. Once you master the basic construction, you can easily batch-make a set of four for a thoughtful, handmade housewarming gift.
I managed to finish a full set of six coasters in one afternoon using scraps from my stash. The pattern is very easy to memorize and the finished texture is thick enough to stop condensation from reaching my wooden side table.
— Sarah, home crafter
Pattern Overview & Skill Level
- Skill Level: Beginner
- Approximate Time: 25 minutes per coaster
- Construction: Worked in joined rounds, starting from the center and expanding outward to create a flat square
- Finished Dimensions: 4 inches by 4 inches
Materials & Supplies Needed
- Yarn: Worsted #4 weight, 100% cotton, approximately 15 yards per coaster. Cotton is essential for absorbency and heat resistance.
- Hook Size: 5.0 mm (US H-8) crochet hook.
- Notions: Tapestry needle for weaving ends, a pair of sharp scissors, and an optional stitch marker to track the beginning of rounds.
- Safe Yarn Substitutions: You may use an acrylic yarn if the coasters are for decorative purposes, though acrylic will not absorb moisture and may melt if a very hot mug is placed directly on it.
Stitch Guide & Abbreviations (US Terms)
- ch: chain
- st/sts: stitch/stitches
- sc: single crochet
- sl st: slip stitch
- dc: double crochet
- sk: skip
- RS: Right Side
Step-by-Step Pattern Instructions
Coaster Body
- Foundation: Ch 4, join with sl st to first ch to form a ring.
- Rnd 1: Ch 3 (counts as first dc), work 2 dc into the ring, ch 2, *3 dc into the ring, ch 2; repeat from * twice more, join with sl st to top of starting ch-3. (12 dc, 4 ch-2 spaces)
- Rnd 2: Sl st into the next dc and into the corner ch-2 space. Ch 3, (dc, ch 2, 2 dc) in same corner space. *Dc in each of the next 3 dc, (2 dc, ch 2, 2 dc) in next corner ch-2 space; repeat from * twice more, dc in last 3 dc, join with sl st to top of starting ch-3. (28 dc, 4 ch-2 spaces)
- Rnd 3: Sl st into next dc and into the corner ch-2 space. Ch 3, (dc, ch 2, 2 dc) in same corner space. *Dc in each of the next 7 dc, (2 dc, ch 2, 2 dc) in next corner ch-2 space; repeat from * twice more, dc in last 7 dc, join with sl st to top of starting ch-3. (44 dc, 4 ch-2 spaces)
- Rnd 4: Ch 1, sc in same st, *sc in each dc to corner, (sc, ch 1, sc) in corner ch-2 space; repeat from * around, join with sl st to first sc. Fasten off. (48 sc, 4 ch-1 spaces)
Finishing
Use the tapestry needle to weave in the tail from the starting ring into the back of the work. Trim the remaining end flush with the stitches. Repeat the weaving process for the final yarn tail after fastening off. If the edges appear slightly curled, lightly steam press the coaster with an iron on a low setting or dampen it and lay it flat until dry to set the shape.
Care & Washing Instructions
- Machine wash your cotton coasters on a gentle cycle in cold water with mild detergent.
- Lay the coasters flat on a clean towel to air dry, ensuring they are squared off to maintain their shape.
- Avoid using bleach, as it can weaken the cotton fibers and cause fading over repeated washings.
Pro Tips & Common Mistakes to Avoid
- Maintain consistent tension throughout the rounds; if your stitches are too tight, the coaster will pucker, and if they are too loose, it will look floppy.
- Always place a stitch marker in the first stitch of every round to ensure you join correctly and keep the square corners aligned.
- Weave your yarn ends diagonally across the back of the work for at least one inch to ensure they stay secure through repeated laundry cycles.
- Adjusting the size is simple; add additional rounds by following the increase pattern of two stitches in the corner spaces and one stitch in every side stitch, but note that larger coasters will require more yardage.
Frequently Asked Questions
Can I use a different yarn weight for this pattern?
You can use a DK weight or a bulky weight yarn, but keep in mind that the final dimensions of the coaster will change. A smaller yarn will result in a smaller coaster, while a heavier yarn will result in a larger, thicker coaster. You may need to adjust your hook size to match the yarn manufacturer’s recommendation on the label.
Why is my coaster not laying perfectly flat?
This often happens if the tension is too tight or if you missed a stitch during the increase rounds. If the coaster cups, try going up one hook size. If it ripples like a wave, your tension may be too loose, or you may be adding too many stitches in the corners.
Is this pattern suitable for complete beginners?
Yes, this is an excellent starter project. It uses basic stitches and the construction is repetitive, which helps you practice your tension and counting without needing to learn complex stitch patterns or shaping techniques.
May I sell the coasters I make from this pattern?
You are welcome to sell finished items made from this pattern, provided you credit the designer. Please note that you cannot redistribute or sell the written pattern itself, as it is protected by copyright.
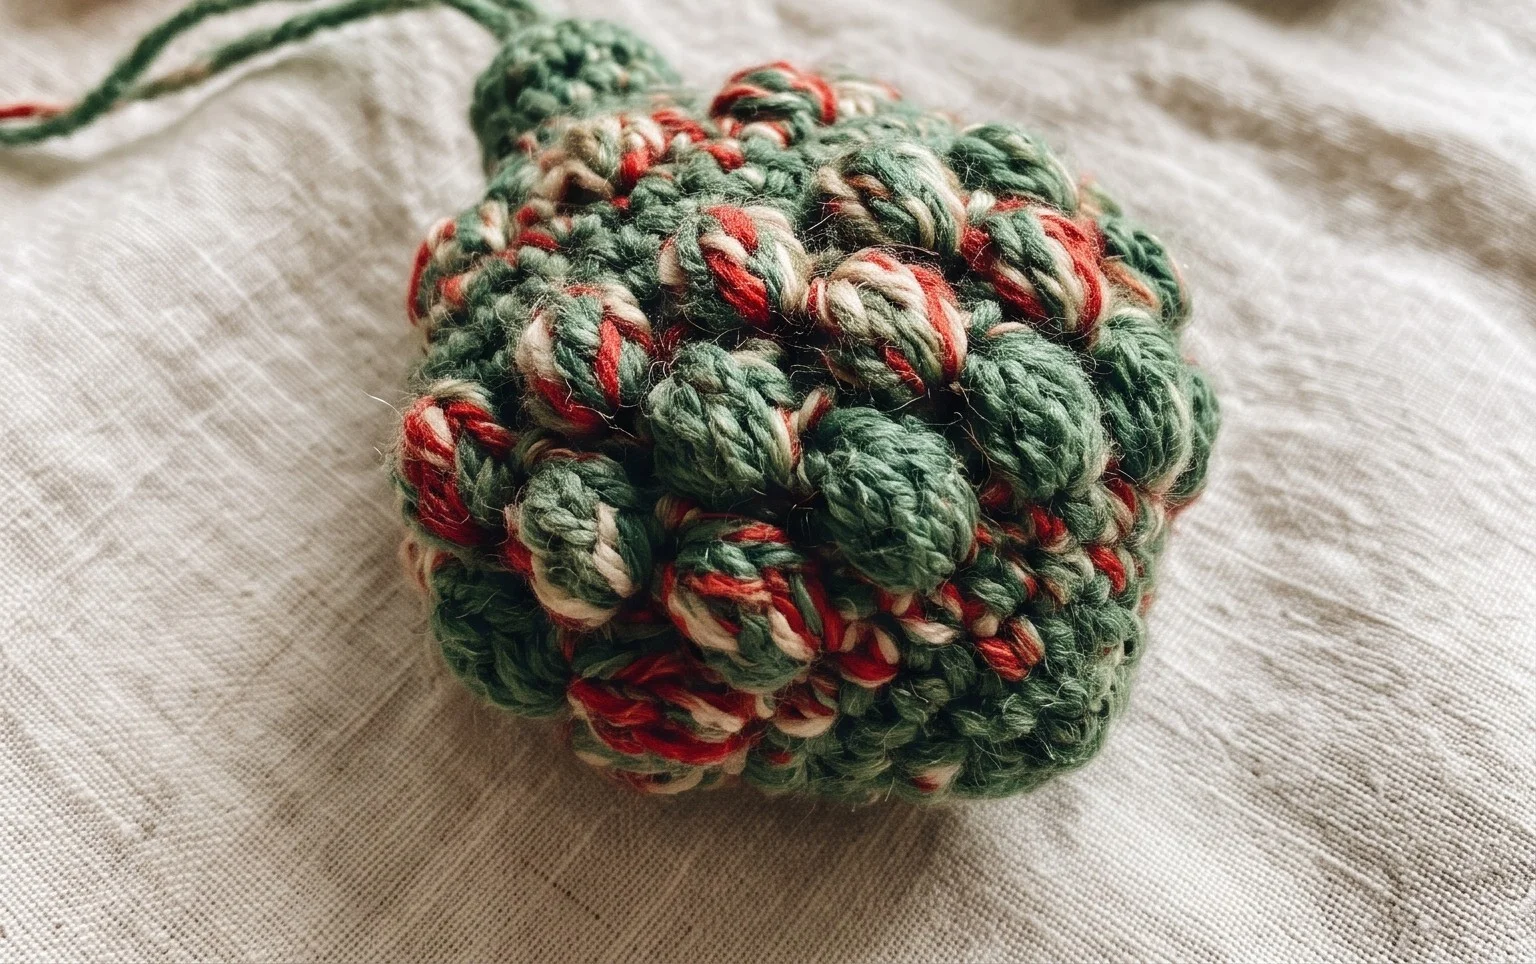
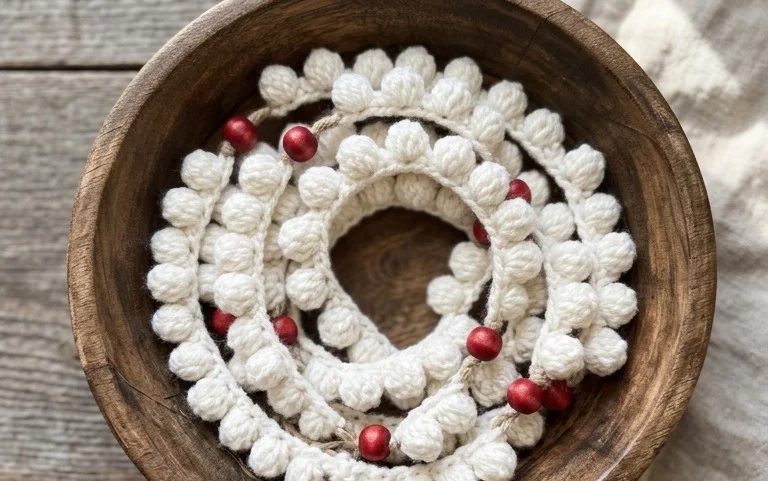
Watching your tree fill up with these handmade ornaments gives you a genuine sense of holiday cheer that lasts throughout the season. You can easily customize these by switching your standard cotton yarn for a metallic thread or adding wooden beads to the hanging loop for extra weight and texture. Please snap a photo of your finished work and share it on Instagram or Pinterest to help others find inspiration. Check the blog archives for more small-scale patterns to keep your hands busy while you enjoy the festive weather.