Easy Crochet Granny Square Ornaments Free Pattern
Small loops of yarn twisted into classic motifs bring a nostalgic, handmade charm to your holiday boughs. These tiny ornaments feel substantial in your hand, offering a dense texture that holds its shape beautifully once hung. Beginners find this project especially rewarding because it transforms simple stitches into festive decor without requiring hours of labor. You will learn the mechanics of working in the round, specifically how to chain and cluster double crochet stitches to build your square from the center outward. Crafting these items allows you to personalize your tree with specific colors or use up leftover yarn scraps from larger winter blankets.
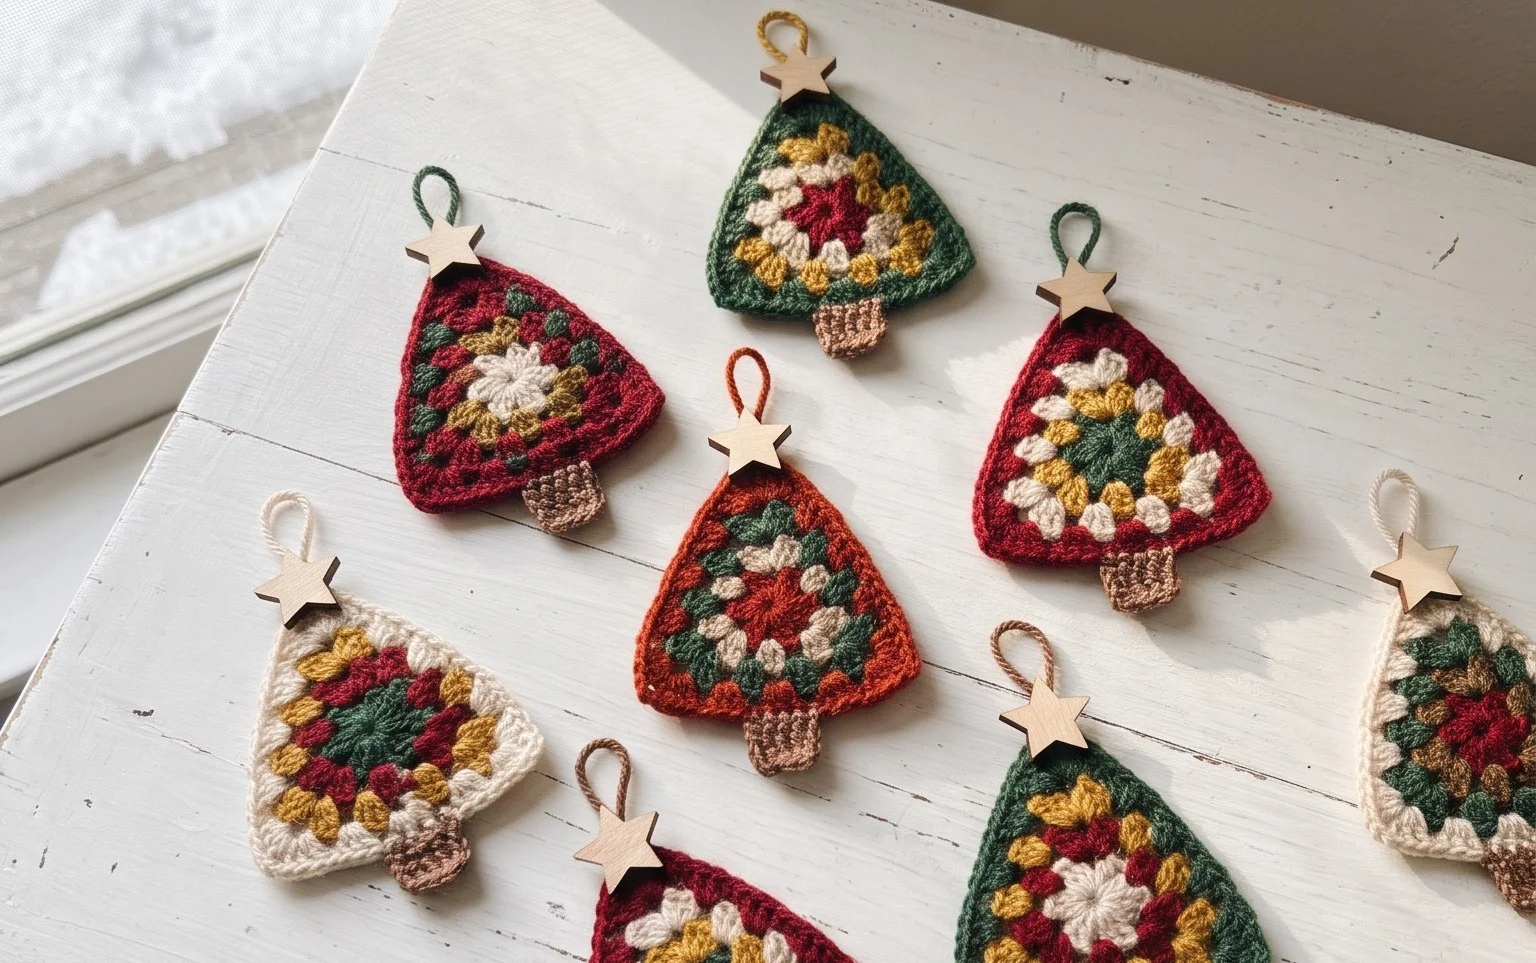
Why You’ll Love This Pattern
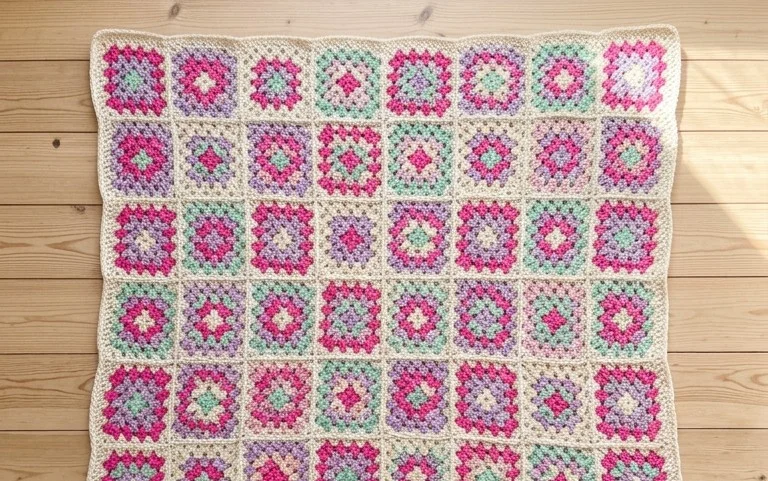
The Classic Crochet Granny Square is the quintessential building block for handmade blankets, bags, and garments. This project is ideal for using up leftover bits of yarn from previous crafts, making it an affordable and eco-friendly choice for your stash. Because each square works up in just a few minutes, you can easily carry your work in a small bag to crochet during travel or short breaks. Beginners appreciate this pattern because it helps master basic stitches and tension control without the pressure of a large, complex piece. Once you finish your first square, you have a versatile component that can be joined to others to create items of any size.
I finally learned how to read a pattern thanks to this guide. The clear breakdown made the corner clusters so easy to understand, and I finished my first set of twelve squares in a single weekend.
— Sarah, beginner crocheter
Pattern Overview & Skill Level
- Skill Level: Beginner
- Approximate Time: 15-20 minutes per square
- Construction: Worked in joined rounds, starting from the center and expanding outward
- Finished Dimensions: 5 inches by 5 inches when using standard worsted weight yarn
Materials & Supplies Needed
- Yarn: Worsted weight (#4) acrylic or cotton yarn, approximately 15-20 yards per square.
- Hook Size: 5.0 mm (US H-8).
- Notions: Tapestry needle for weaving in ends, scissors, and a measuring tape to ensure gauge consistency.
- Yarn Substitutions: You can use DK weight yarn with a 4.0 mm hook for smaller, more delicate squares, though this will reduce the finished size. Using chunky yarn with a 6.0 mm hook will result in a larger, thicker square.
Stitch Guide & Abbreviations (US Terms)
- ch = chain
- st/sts = stitch/stitches
- sl st = slip stitch
- dc = double crochet: Yarn over, insert hook into stitch, yarn over and pull up a loop, yarn over and pull through two loops, yarn over and pull through remaining two loops.
- Cluster = a group of 3 dc stitches worked into the same space.
- Corner = 3 dc, ch 2, 3 dc all worked into the same ch-space.
Step-by-Step Pattern Instructions
Square Body
- Round 1: Create a magic ring. Ch 3 (counts as first dc throughout), 2 dc in ring, ch 2, *3 dc in ring, ch 2; repeat from * twice more. Join with a sl st to top of beginning ch 3. (12 sts, 4 ch-2 spaces)
- Round 2: Sl st into the next 2 sts and into the first ch-2 corner space. Ch 3, 2 dc, ch 2, 3 dc in same corner space. *Ch 1, skip 3 sts, in next ch-2 space work (3 dc, ch 2, 3 dc). Repeat from * twice more. Ch 1, join with a sl st to top of beginning ch 3. (24 sts, 4 ch-2 spaces, 4 ch-1 spaces)
- Round 3: Sl st into the next 2 sts and into the first ch-2 corner space. Ch 3, 2 dc, ch 2, 3 dc in same corner space. *Ch 1, 3 dc in next ch-1 space, ch 1, (3 dc, ch 2, 3 dc) in next corner space. Repeat from * twice more. Ch 1, 3 dc in last ch-1 space, ch 1, join with a sl st to top of beginning ch 3. (36 sts, 4 ch-2 spaces, 8 ch-1 spaces)
Finishing
Fasten off your yarn, leaving a six-inch tail. Use your tapestry needle to weave the tail through the back of the stitches to secure it. If you plan to join these squares together, leave a longer tail—approximately 12 inches—to use for sewing the squares into a larger fabric.
Care & Washing Instructions
- Machine wash your finished item on a gentle cycle with cool water and a mild detergent.
- Lay the squares flat on a clean towel to air dry, reshaping them while damp to ensure they remain perfectly square.
- Do not iron or bleach, as this can damage the fiber structure and cause the stitches to lose their definition.
Pro Tips & Common Mistakes to Avoid
- Maintain consistent tension by holding your yarn with light, even pressure; if your clusters look loose, try dropping down one hook size.
- Place a removable stitch marker in the top of your beginning ch-3 at the start of each round to avoid losing your place when joining.
- When weaving in ends, work the needle under the back loops of the stitches on the wrong side to keep the surface of your work clean and professional.
- Adjust the size of the square by adding or subtracting rounds; remember that each additional round adds 12 double crochet stitches to the total count, which will increase the amount of yarn required for each square.
Frequently Asked Questions
Can I use different weights of yarn together?
While possible, combining yarn weights creates uneven tension and sizing. It is best to stick to one weight throughout a single project unless you are intentionally creating a scrap project with varying textures.
Is this pattern suitable for complete beginners?
Yes, the pattern uses only chains and double crochets, which are the most fundamental stitches in crochet. It is an excellent way to practice working in rounds.
How do I know if my tension is correct?
If your square is cupping or bubbling like a bowl, your tension is likely too tight or you have too many stitches. If it is ruffling, you may have too many stitches or your tension is too loose. Ensure your corners always contain exactly 3 dc, ch 2, 3 dc.
May I sell items made from this pattern?
You are welcome to sell finished physical items created using this pattern. Please credit the designer when listing your items online.
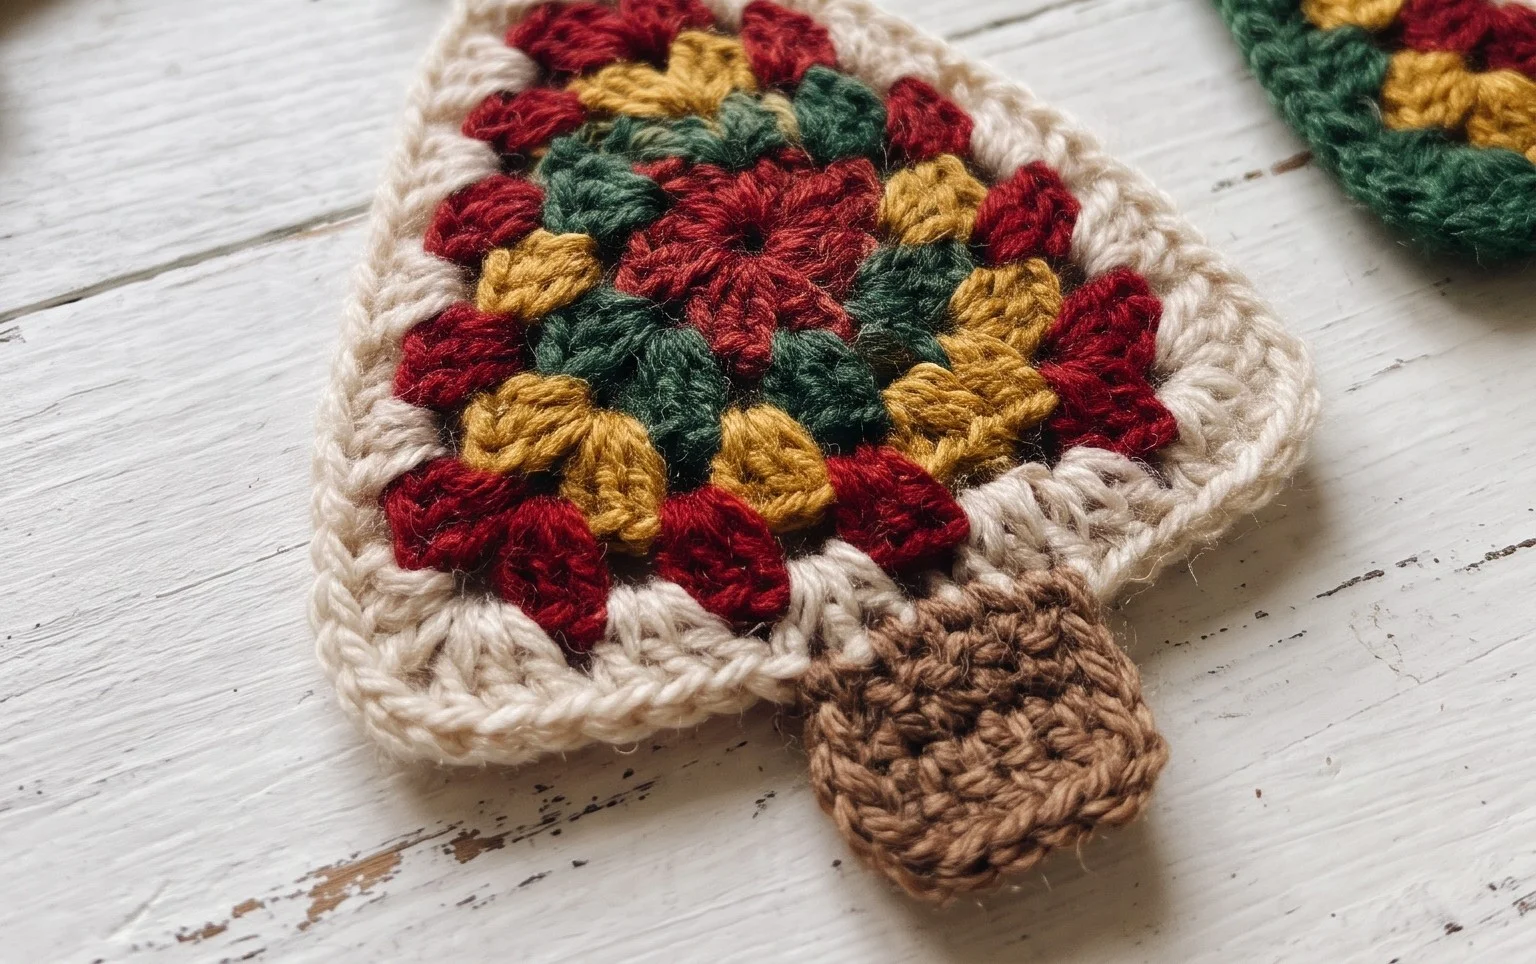
These hanging squares turn a handful of scrap yarn into a charming display of holiday craft. You might try using metallic thread held alongside your primary yarn for an extra shimmer that catches the light on your tree branches. Once you have finished your set, please share a photo of your work on Instagram or tag the project on your favorite social media site. You can find more scrap-busting projects and free patterns throughout the rest of the blog archives to keep your hooks busy all season long.