20 Beautiful Crochet Stitches: Free Step-by-Step Patterns
Soft cotton yarn creates a substantial, structured fabric that keeps its shape when holding your favorite trinkets or office supplies. This drawstring pouch project suits beginners who want to practice working in the round without needing complicated color changes or shaping. You will notice how the dense stitch pattern provides a smooth, satisfying texture that feels professional yet personal. Making this accessory is a relaxing way to spend an afternoon when you have a small pile of spare yarn waiting for a purpose. We will focus on the essential techniques that ensure your base stays flat while your sides grow into a sturdy, functional container for your desk.
Why You’ll Love This Pattern
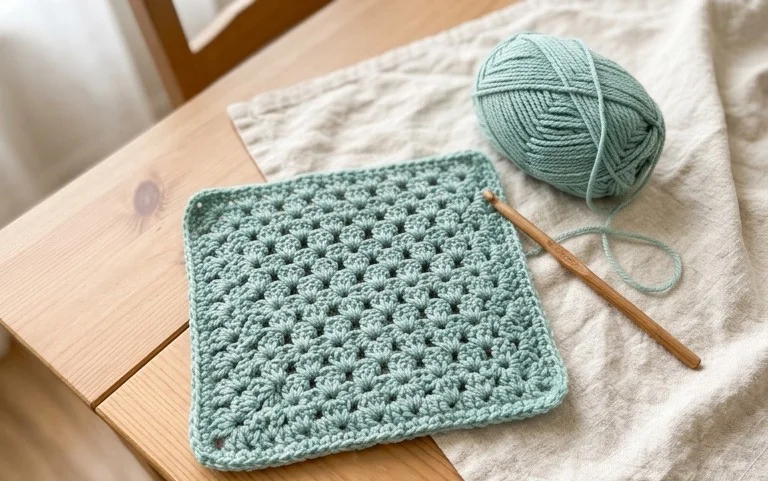
Creating a classic crochet drawstring pouch is a satisfying way to practice working in the round while producing a functional accessory for your home. This project works up quickly using basic stitches, making it an excellent choice for an evening of mindful crafting. The drawstring construction is inherently versatile, allowing you to use it for holding small notions, gift wrapping, or organizing your stash. Because it uses a small amount of yarn, it serves as a practical way to use up leftover skeins from larger projects without requiring a significant investment of time or materials.
I finished this pouch in one sitting and found the instructions extremely easy to follow, especially the drawstring transition row. It holds my stitch markers perfectly on my desk.
— Sarah, hobbyist crocheter
Pattern Overview & Skill Level
- Skill Level: Beginner
- Approximate Time: 1 to 2 hours
- Construction: Worked in continuous rounds from a flat circular base upward, ending with a specialized row for the drawstring cord.
- Finished Dimensions: Approximately 5 inches wide by 6 inches tall when flat.
Materials & Supplies Needed
- Yarn: Worsted weight (#4) cotton yarn. You will need approximately 70 yards for the main pouch and 10 yards for the drawstring.
- Hook Size: 4.5 mm (US 7) crochet hook.
- Notions: Tapestry needle for weaving in ends, a locking stitch marker to keep track of the start of your rounds, and scissors.
- Safe yarn substitutions: You can use acrylic worsted weight yarn for a softer texture, though it may result in a slightly larger, less structured pouch. Wool blends are also suitable but will require hand washing.
Stitch Guide & Abbreviations (US Terms)
- ch: chain
- sc: single crochet
- inc: 2 sc in the same stitch
- sl st: slip stitch
- yo: yarn over
- st/sts: stitch/stitches
- Rnd: round
- Magic Ring: A technique to start rounds by crocheting over an adjustable loop.
Step-by-Step Pattern Instructions
Pouch Body
The pouch begins with a flat circular base that expands before transitioning into the vertical sides.
- Rnd 1: Start with a magic ring, 6 sc into the ring. Place a stitch marker in the first stitch. (6 sts)
- Rnd 2: Inc in each st around. (12 sts)
- Rnd 3: [Inc, sc in next st] repeat 6 times. (18 sts)
- Rnd 4: [Inc, sc in next 2 sts] repeat 6 times. (24 sts)
- Rnd 5: [Inc, sc in next 3 sts] repeat 6 times. (30 sts)
- Rnd 6: [Inc, sc in next 4 sts] repeat 6 times. (36 sts)
- Rnds 7–20: Sc in each st around. (36 sts)
- Rnd 21: [Ch 2, skip 1 st, sc in next st] repeat 18 times. (18 ch-spaces and 18 sc)
- Rnd 22: Sc in each st and ch-space around. (36 sts)
- Rnd 23: Sl st in each st around to create a finished edge. Fasten off and weave in ends. (36 sts)
Drawstring Cord
Create a simple chain to serve as the closure mechanism.
- Make a foundation chain of 70 ch.
- Fasten off, leaving a 2-inch tail on each end.
- Weave the cord in and out through the ch-spaces created in Rnd 21.
- Tie the ends together in a secure knot to complete the pouch.
Care & Washing Instructions
- Hand wash your finished pouch in cool water using a mild detergent to preserve the structure of the cotton fibers.
- Lay the item flat on a clean towel and reshape it while damp, avoiding direct sunlight to prevent color fading.
- Do not tumble dry, as high heat can cause the cotton to shrink and distort the shape of the circular base.
Pro Tips & Common Mistakes to Avoid
- Maintain consistent tension throughout the project; if your base ripples, your tension is too loose, but if it cups like a bowl, your tension is likely too tight.
- Always move your stitch marker to the first stitch of every new round immediately; failing to do this makes it difficult to see where the round ends.
- When weaving in ends, run your needle through the back loops of the interior stitches in multiple directions to ensure the yarn remains secure after repeated use.
- You can adjust the height of the pouch by adding or removing rounds between Rnd 7 and Rnd 20; note that adding more height will increase the amount of yarn required.
Frequently Asked Questions
Can I use a larger hook for this pattern?
Using a larger hook will increase the size of the pouch and make the fabric feel looser or more porous. If you increase the hook size, you should also increase the amount of yarn you have on hand.
Is this pattern suitable for complete beginners?
Yes, this project only requires the ability to work in a magic ring, increase stitches, and perform basic single crochet, making it an ideal first project.
Can I sell the items I make from this pattern?
You are welcome to sell finished items made from this pattern, provided you credit the design. Please do not redistribute the pattern text itself.
What if I don’t know how to make a magic ring?
You can substitute the magic ring by chaining 3, joining with a slip stitch to form a ring, and working your 6 stitches into that center space instead.
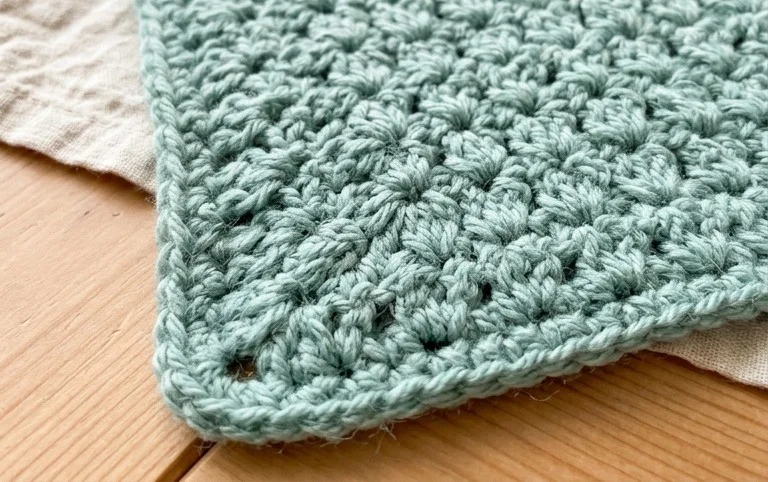
This handmade pouch keeps your smallest notions organized and looks lovely sitting on a cluttered workspace. You can easily adjust the size by increasing your starting circle rounds or swap the cotton for a soft wool blend if you want a squishier feel for delicate jewelry. Share a photo of your finished work on social media so others can see your color choices. Browse the rest of the blog for more free patterns to fill your afternoons with productive, relaxing hobby time.