How to Change Yarn Color in Crochet: Step-by-Step Guide
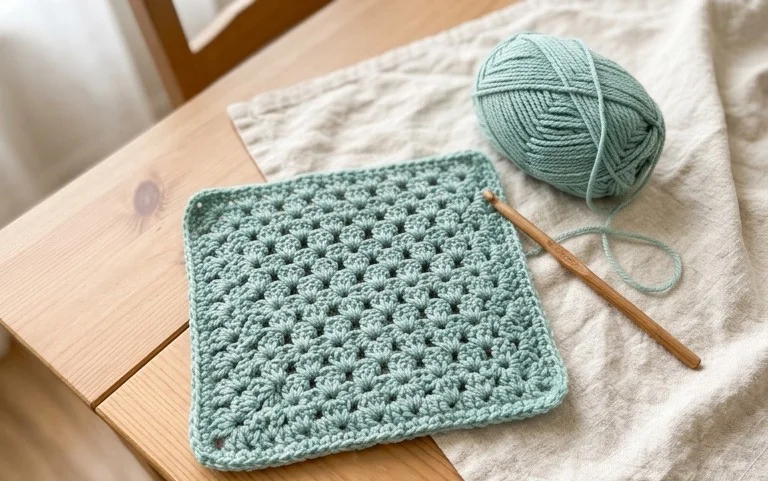
Soft, squishy squares piled on a wooden chair bring an instant sense of warmth to any living space. These little blocks hold a classic structure that feels sturdy in your hands, making them a favorite for beginners who want to build rhythm and confidence. You might choose to make them for a gift, or simply to clean out your leftover yarn bin. Changing shades while working through your rows is a simple technique that turns plain fabric into something truly unique. This guide walks you through the clean, invisible method of shifting colors to keep your projects looking professional.
Why You’ll Love This Pattern
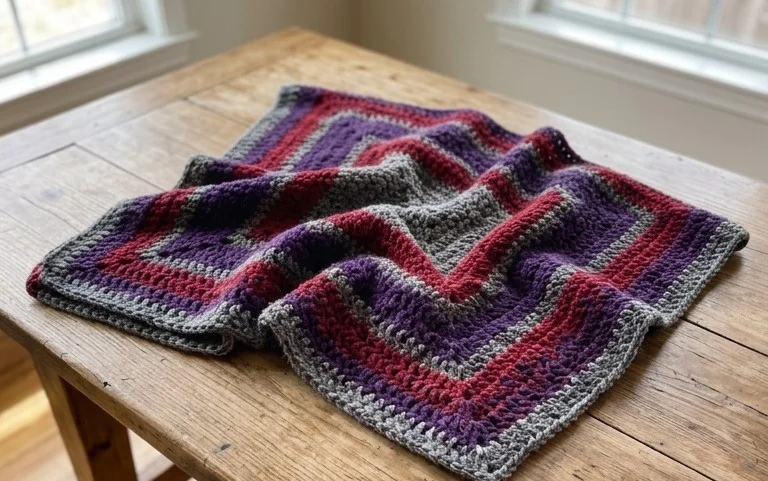
The Classic Crochet Granny Square is the foundation of countless textile projects, from cozy patchwork blankets to structural tote bags. This pattern relies on a repetitive, rhythmic sequence that makes it ideal for building muscle memory and perfecting your tension. Because each square is worked individually, you can easily carry a single skein of yarn and a hook in your bag for portable, stress-free crafting. The modular nature of this design allows you to adjust the final size of your project by simply adding or subtracting the number of squares you choose to join.
I started these squares as a way to use up my scrap yarn stash, and they are so addictive once you get the rhythm of the double crochet clusters down.
— Sarah, beginner crocheter
Pattern Overview & Skill Level
- Skill Level: Beginner
- Approximate Time: 30 minutes per square
- Construction: Worked in rounds, starting from a center ring and expanding outward in a square shape.
- Finished Dimensions: Approximately 6 inches by 6 inches using standard worsted weight yarn.
Materials & Supplies Needed
- Yarn: Worsted weight (#4), 100% acrylic or wool blend, approximately 25 yards per square.
- Hook Size: 5.0 mm (US H-8).
- Notions: Tapestry needle for weaving in ends, scissors, and optional stitch markers.
- Yarn Substitutions: You may use DK weight yarn for a smaller, more delicate square or bulky weight yarn for a faster, chunkier result; note that changing weight will require a different hook size and alter the final dimensions.
Stitch Guide & Abbreviations (US Terms)
- ch = chain
- sl st = slip stitch
- dc = double crochet
- dc cluster = 3 double crochet stitches worked into the same space
- sp = space
- rnd = round
Step-by-Step Pattern Instructions
Center and Foundation
- Rnd 1: Ch 4, join with a sl st to the first ch to form a ring. Ch 3 (counts as first dc here and throughout), work 2 dc into the ring, ch 2, 3 dc into ring, ch 2 three times. Join with a sl st to the top of the beginning ch-3. (12 dc, 4 ch-2 spaces)
Expanding the Square
- Rnd 2: Sl st into the first ch-2 corner space. Ch 3, 2 dc, ch 2, 3 dc in the same corner space. Ch 1, skip 3 dc, (3 dc, ch 2, 3 dc) in the next corner space three times. Ch 1, join with a sl st to the top of the beginning ch-3. (24 dc, 4 ch-2 spaces, 4 ch-1 spaces)
- Rnd 3: Sl st into the corner sp. Ch 3, 2 dc, ch 2, 3 dc in the same corner space. Ch 1, 3 dc in the next ch-1 space, ch 1, (3 dc, ch 2, 3 dc) in the corner space three times. Ch 1, 3 dc in the final ch-1 space, ch 1, join with a sl st to the top of the beginning ch-3. (36 dc, 4 ch-2 spaces, 8 ch-1 spaces)
- Rnd 4: Continue in established pattern, working (3 dc, ch 2, 3 dc) in each corner and 3 dc in each side ch-1 space, separated by ch-1. Join at the end of the round with a sl st to the top of the beginning ch-3. (48 dc, 4 ch-2 spaces, 12 ch-1 spaces)
Finishing
After reaching your desired size, fasten off your yarn, leaving a 6-inch tail. Pull the tail through the final loop to secure. Use your tapestry needle to weave the tail through the back of the stitches to ensure the square does not unravel during use or washing.
Care & Washing Instructions
- Machine wash your finished items on a gentle cycle with cool water and mild detergent.
- Lay the squares flat on a clean towel to air dry, reshaping them gently while damp to ensure perfectly square corners.
- Avoid using a hot iron or high-heat tumble dryer, as these can damage synthetic fibers and cause the yarn to lose its structure.
Pro Tips & Common Mistakes to Avoid
Consistency in your tension is necessary for all squares to match in size. If you notice your tension loosening as you progress, take a break to reset your hand position. Always place a stitch marker in the first stitch of every round to easily identify where to join. Weave your ends in multiple directions through the back loops of the stitches to make the join invisible and durable. If you decide to adjust the size of the square by adding extra rounds, remember that each additional round will require more yardage, so ensure you have sufficient yarn on hand before committing to a larger design.
Frequently Asked Questions
Can I use cotton yarn instead of acrylic?
Yes, cotton yarn works well for these squares, though it has less stretch than acrylic and may result in a firmer, heavier fabric that requires a bit more blocking to keep the corners sharp.
Is this pattern suitable for making a full-sized blanket?
This pattern is perfect for blankets. You can make many squares and join them using a slip stitch or single crochet seam to create a custom-sized heirloom piece.
How do I keep the edges from curling?
Curling usually occurs if your tension is too tight. Try going up one hook size or intentionally relaxing your grip on the yarn as you work your double crochet stitches.
Can I sell the finished squares or blankets?
You are welcome to sell physical items made from this pattern, but please do not sell or redistribute the written instructions themselves. Always credit the designer when listing your finished work online.
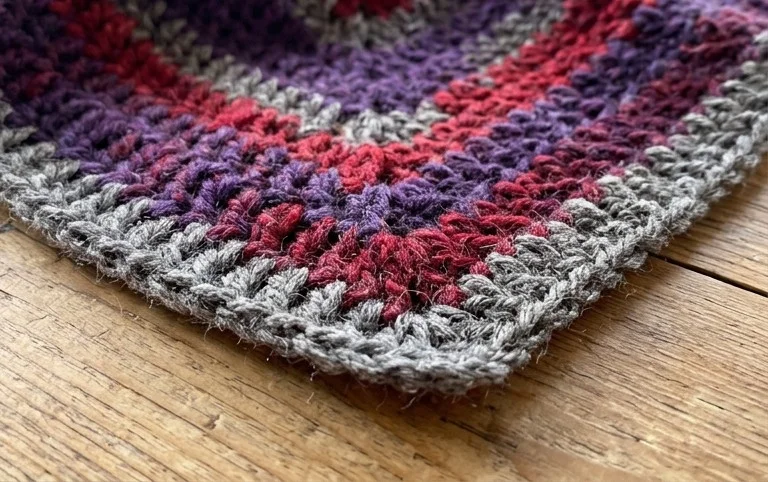
Your finished squares create a beautiful, geometric statement when sewn together into a blanket or a tote bag. You can try working with two high-contrast colors for a bold graphic look, or experiment with subtle tonal shifts for a softer finish. Please share a photo of your finished work on social media to show off your progress. If you enjoyed this project, there are many more free patterns on the blog to help you keep practicing your stitches and building your craft.