Easy Crochet Amigurumi: Free Pattern and Material Guide
This small amigurumi project sits comfortably in the palm of your hand, offering a dense, squishy texture that makes it hard to put down. It acts as a reliable go-to for anyone needing a quick gift or a simple decorative piece for a desktop. Beginners will find the repetitive single crochet rounds manageable, while more experienced makers appreciate the meditative pace of working without complex color changes. You will learn how to maintain consistent tension to keep your stuffing secure inside the structure. This build provides a clear, rhythmic flow that transforms basic yarn into a finished item in just a few hours.
Why You’ll Love This Pattern
This crochet project works up quickly, making it a reliable choice for last-minute gifts or stash-busting sessions. Because the design relies on basic stitches worked in the round, it remains accessible for beginners while providing a relaxing, rhythmic experience for more seasoned makers. The finished item holds its shape well due to the tight tension required in amigurumi construction, ensuring durability for everyday use. You can complete the entire project in a single evening, which provides a satisfying sense of accomplishment without a long-term time commitment.
I loved how fast this came together for my niece’s birthday gift. The instructions were very clear and the finished piece looked exactly like the photos.
— Sarah, amigurumi maker
Pattern Overview & Skill Level
- Skill Level: Beginner
- Approximate Time: 2 to 3 hours
- Construction: Amigurumi-style continuous rounds, worked from the base up
- Finished Dimensions: 4 inches tall by 3 inches wide
Materials & Supplies Needed
- Yarn: Worsted weight (#4), 100% cotton, approximately 50 yards in main color and 10 yards in secondary color
- Hook Size: 3.5 mm (E-4)
- Notions: Tapestry needle, stitch markers, polyester fiberfill stuffing, 8mm safety eyes
- Yarn Substitutions: Acrylic yarn can be used for a softer touch, though it may stretch more during stuffing. Cotton is recommended for a crisp stitch definition and structured shape.
Stitch Guide & Abbreviations (US Terms)
- MR: Magic Ring
- ch: Chain
- sc: Single crochet
- inc: Increase (2 sc in the same stitch)
- dec: Decrease (sc 2 stitches together using the invisible decrease method)
- sl st: Slip stitch
- st(s): Stitch(es)
Step-by-Step Pattern Instructions
Body
- Rnd 1: Start 6 sc in a MR (6 sts).
- Rnd 2: Inc in each st around (12 sts).
- Rnd 3: [Sc in 1 st, inc in next] 6 times (18 sts).
- Rnd 4: [Sc in 2 sts, inc in next] 6 times (24 sts).
- Rnd 5: [Sc in 3 sts, inc in next] 6 times (30 sts).
- Rnd 6-12: Sc in each st around (30 sts).
- Rnd 13: [Sc in 3 sts, dec] 6 times (24 sts).
- Rnd 14: [Sc in 2 sts, dec] 6 times (18 sts). Insert safety eyes between rounds 9 and 10, spaced 5 stitches apart. Begin stuffing the body firmly.
- Rnd 15: [Sc in 1 st, dec] 6 times (12 sts).
- Rnd 16: Dec 6 times (6 sts).
Finishing
Cut the yarn leaving a 6-inch tail. Use the tapestry needle to weave the tail through the front loops of the remaining 6 stitches and pull tight to close the hole. Secure the thread with a knot and hide the end inside the body. Use the secondary color yarn to embroider a small nose or mouth feature if desired.
Care & Washing Instructions
- Hand wash in cool water with a mild detergent to prevent fiber distortion.
- Do not wring the item; gently press it between two towels to remove excess water.
- Lay flat on a clean surface and reshape while damp, ensuring it dries completely away from direct sunlight.
Pro Tips & Common Mistakes to Avoid
Maintain consistent tension throughout the project to ensure the stuffing does not show through the gaps between stitches. Always place a stitch marker at the beginning of every round so you do not lose your place in the count, as continuous rounds lack a clear seam. When weaving in your ends, run the needle through the center of the fiber rather than just catching the loops to keep the finish invisible. You can adjust the size of the final object by changing your hook size, though keep in mind that a larger hook will require more yarn and may lead to looser stitches that show the stuffing.
Frequently Asked Questions
Can I use a different weight of yarn for this pattern?
You can use any yarn weight provided you match it with the appropriate hook size. Be aware that using a thinner yarn will result in a smaller finished piece, while a thicker yarn will make the piece larger.
How do I keep my stitches from being too loose?
Try dropping down one hook size smaller than what is recommended on your yarn label. This creates a tighter fabric that prevents the stuffing from poking through the gaps.
Is this project suitable for a total beginner?
Yes, this pattern uses only basic stitches and techniques. Understanding how to work in a magic ring and how to increase or decrease are the only skills required to succeed.
May I sell the items I make from this pattern?
You are welcome to sell finished products created from this design. Please credit the original designer in your product listings to support the growth of the community.
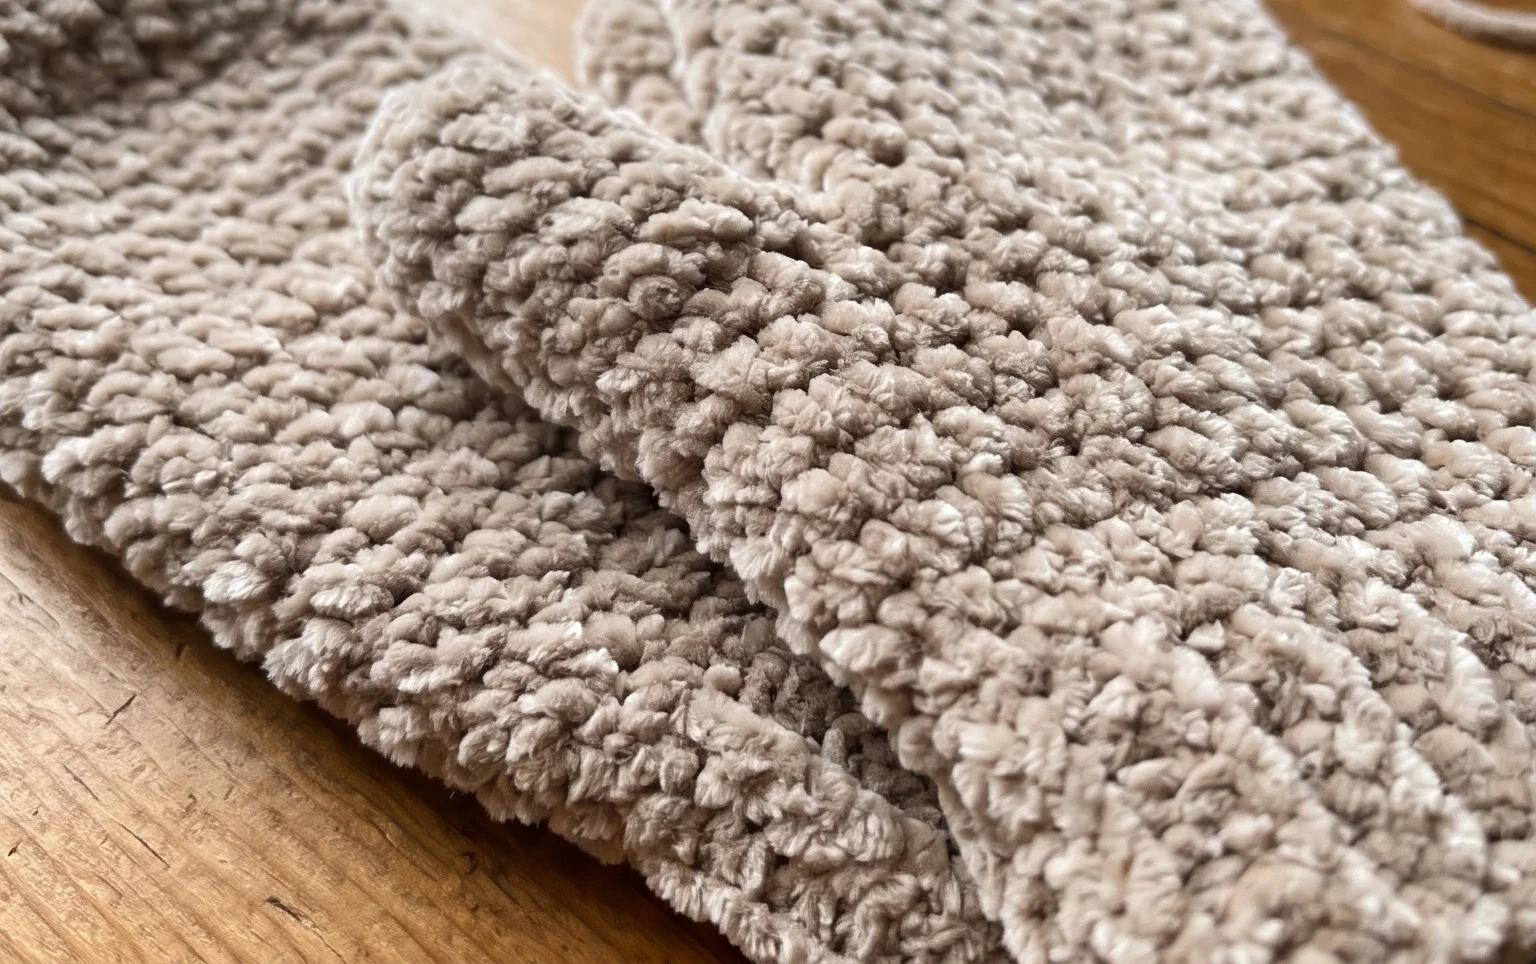
Your finished project is now ready to sit on a shelf or brighten up a gift bag with its tidy, uniform stitches. If you want a slightly larger version, swap the worsted weight yarn for a chunky weight option and increase your hook size to 5 mm. Seeing how others personalize these designs is always a treat, so please share your version on social media. Check back on the blog to find more patterns for your next afternoon session with your crochet hook and yarn collection.